INSTRUCTIONS
Mori BJD Assembly Tutorial
Optional Hot Glue Sueding Tutorial
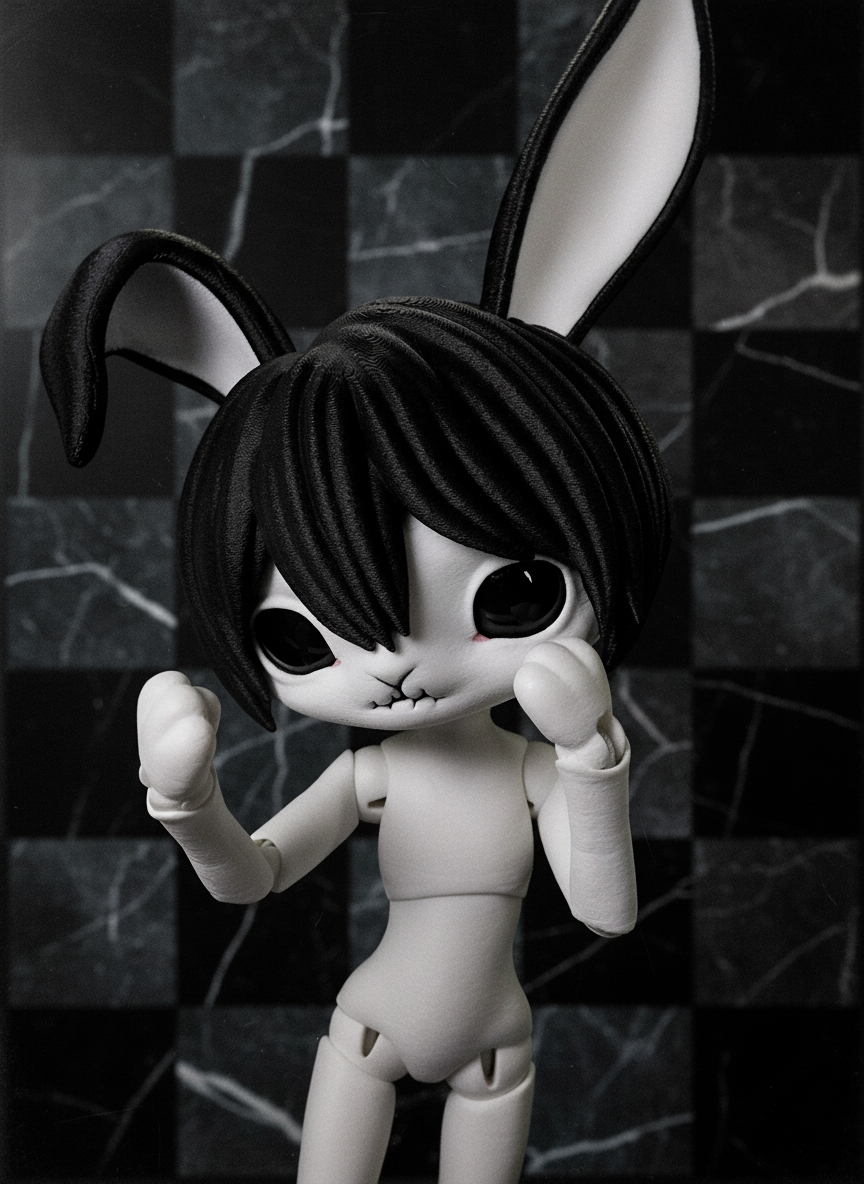
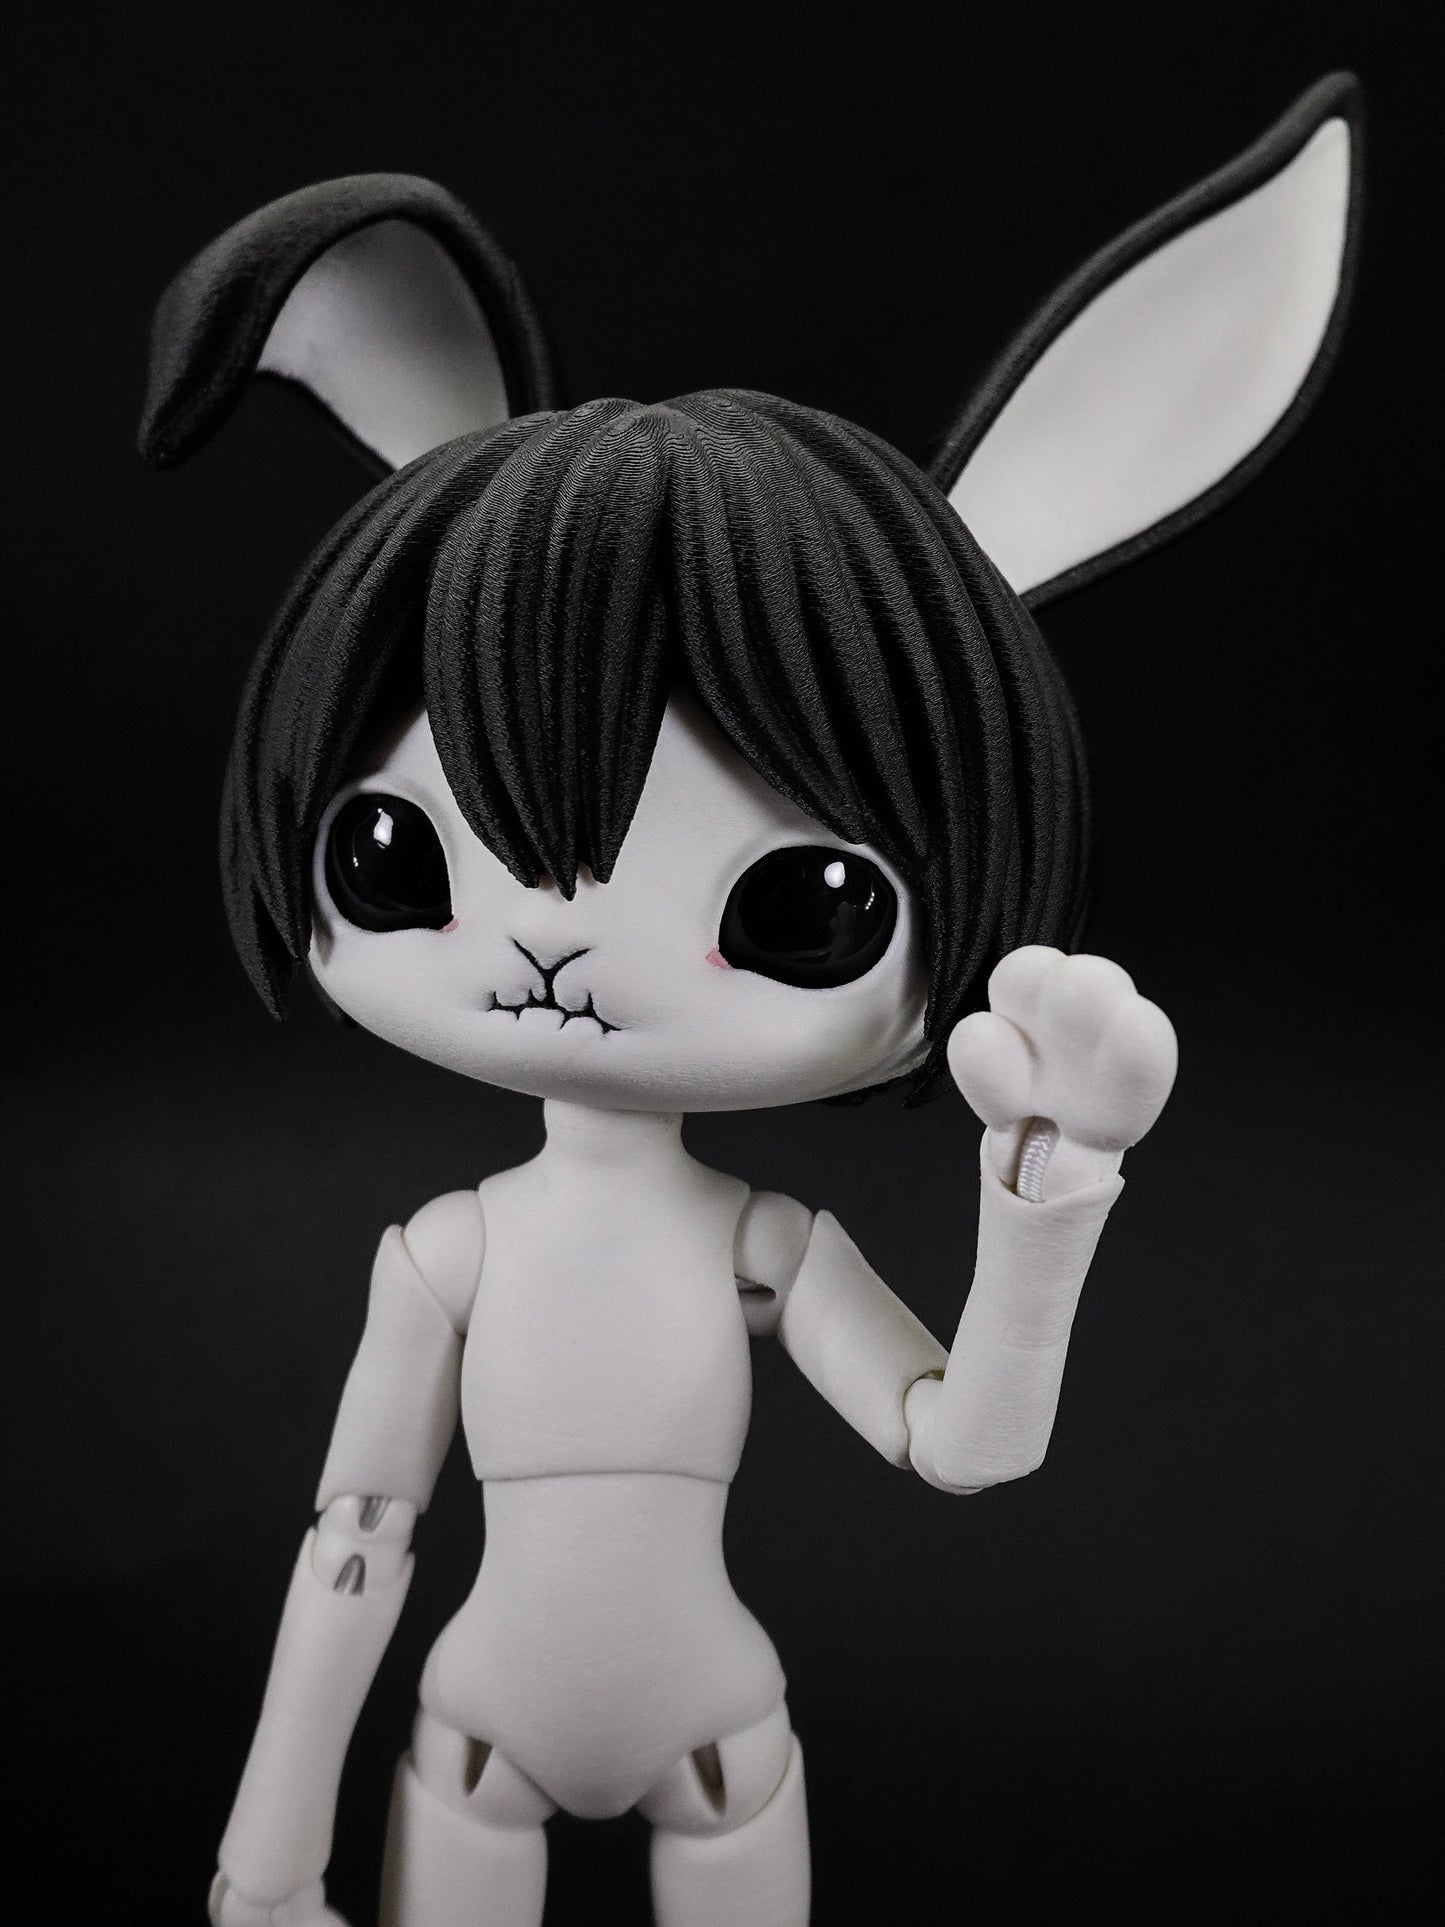
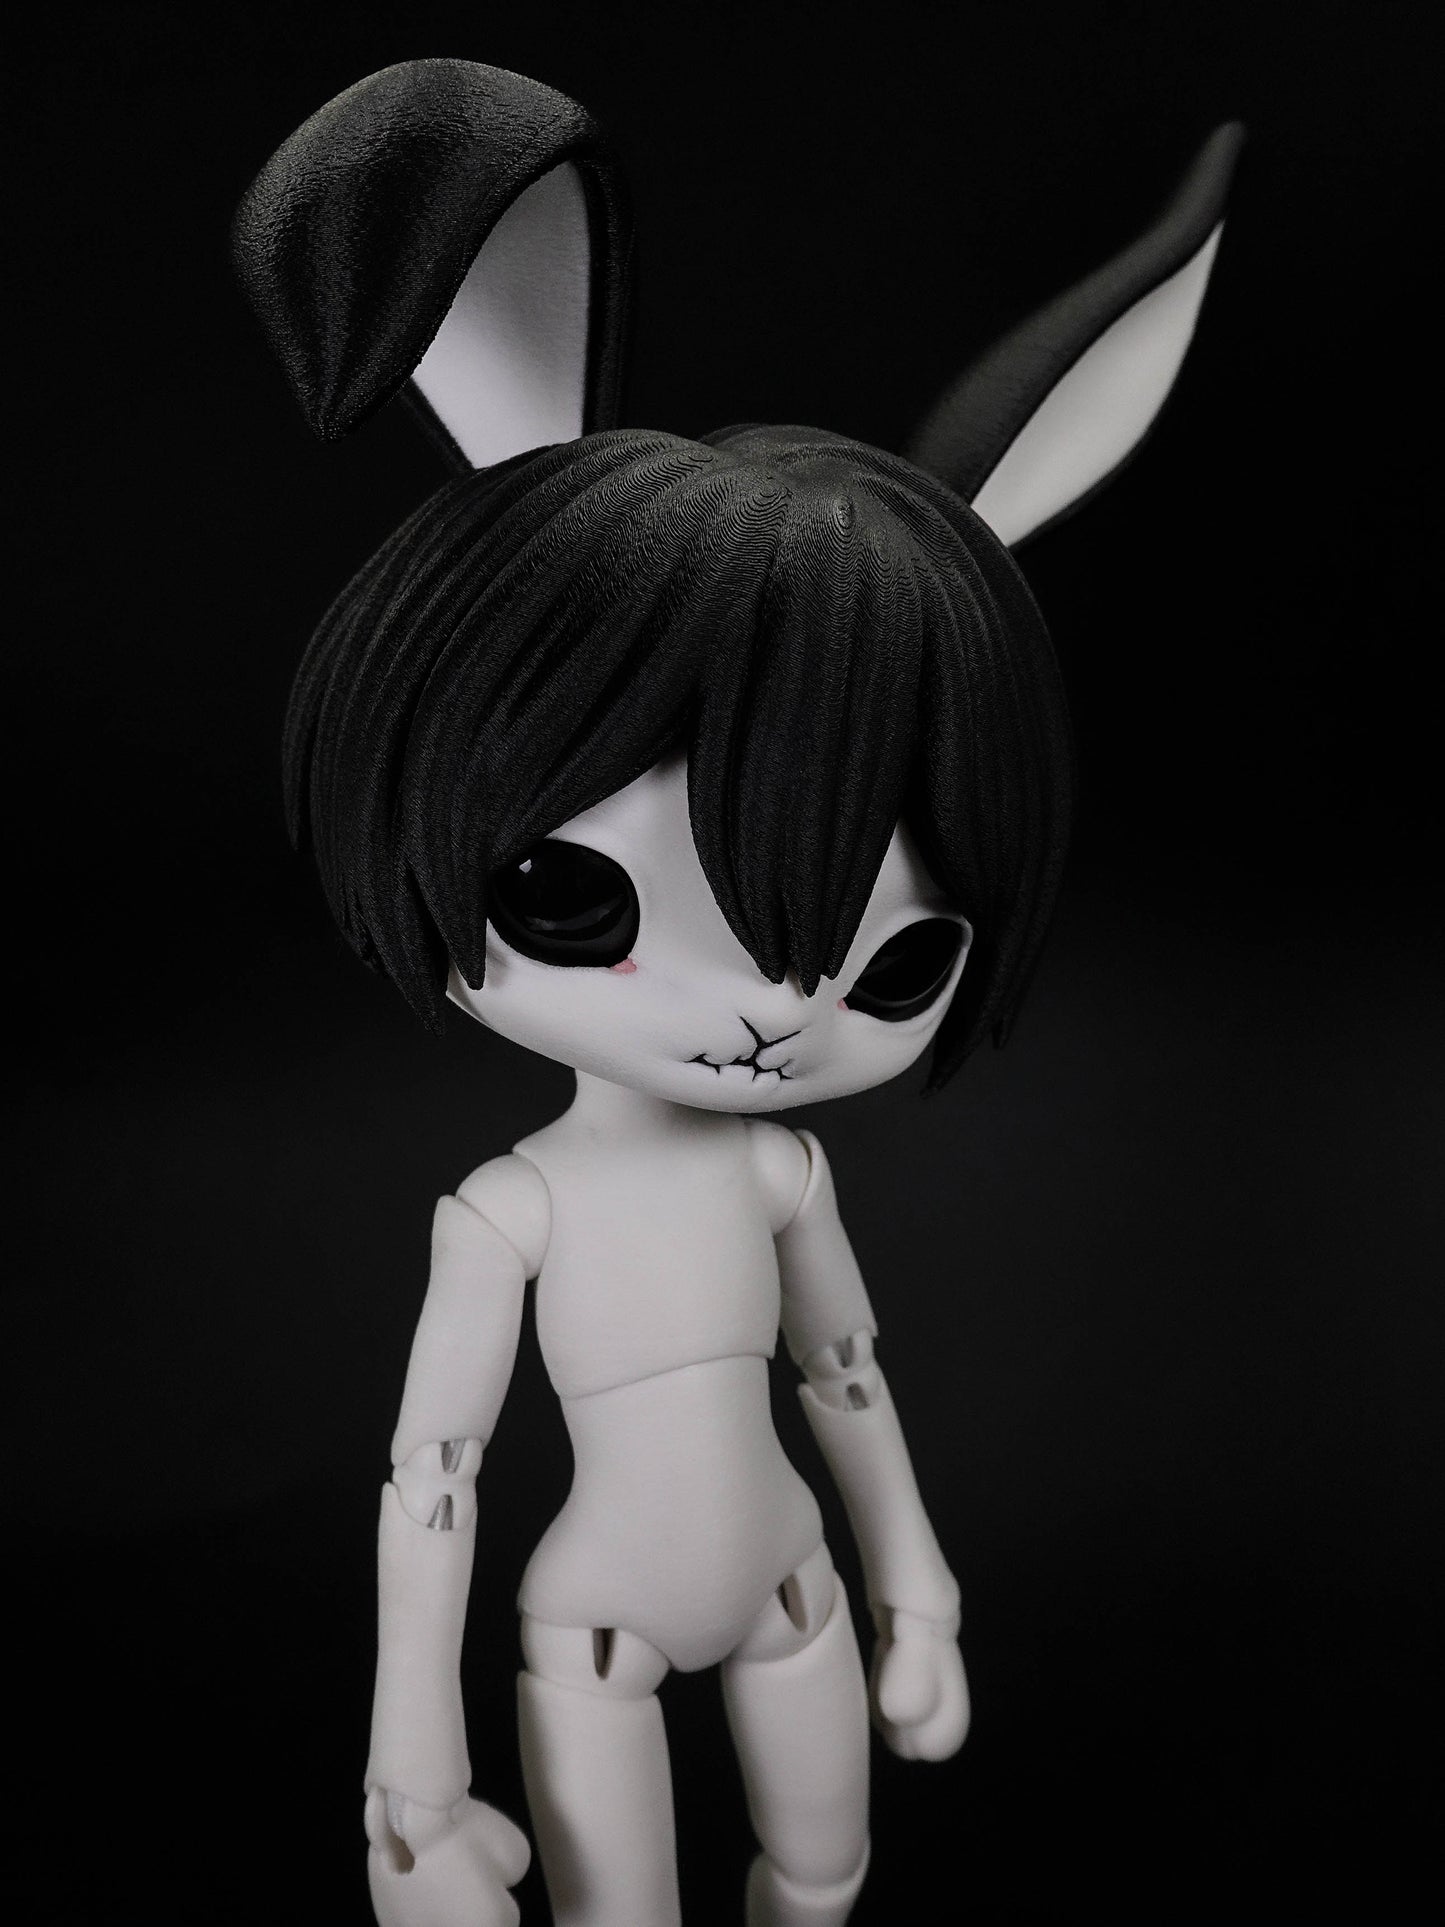
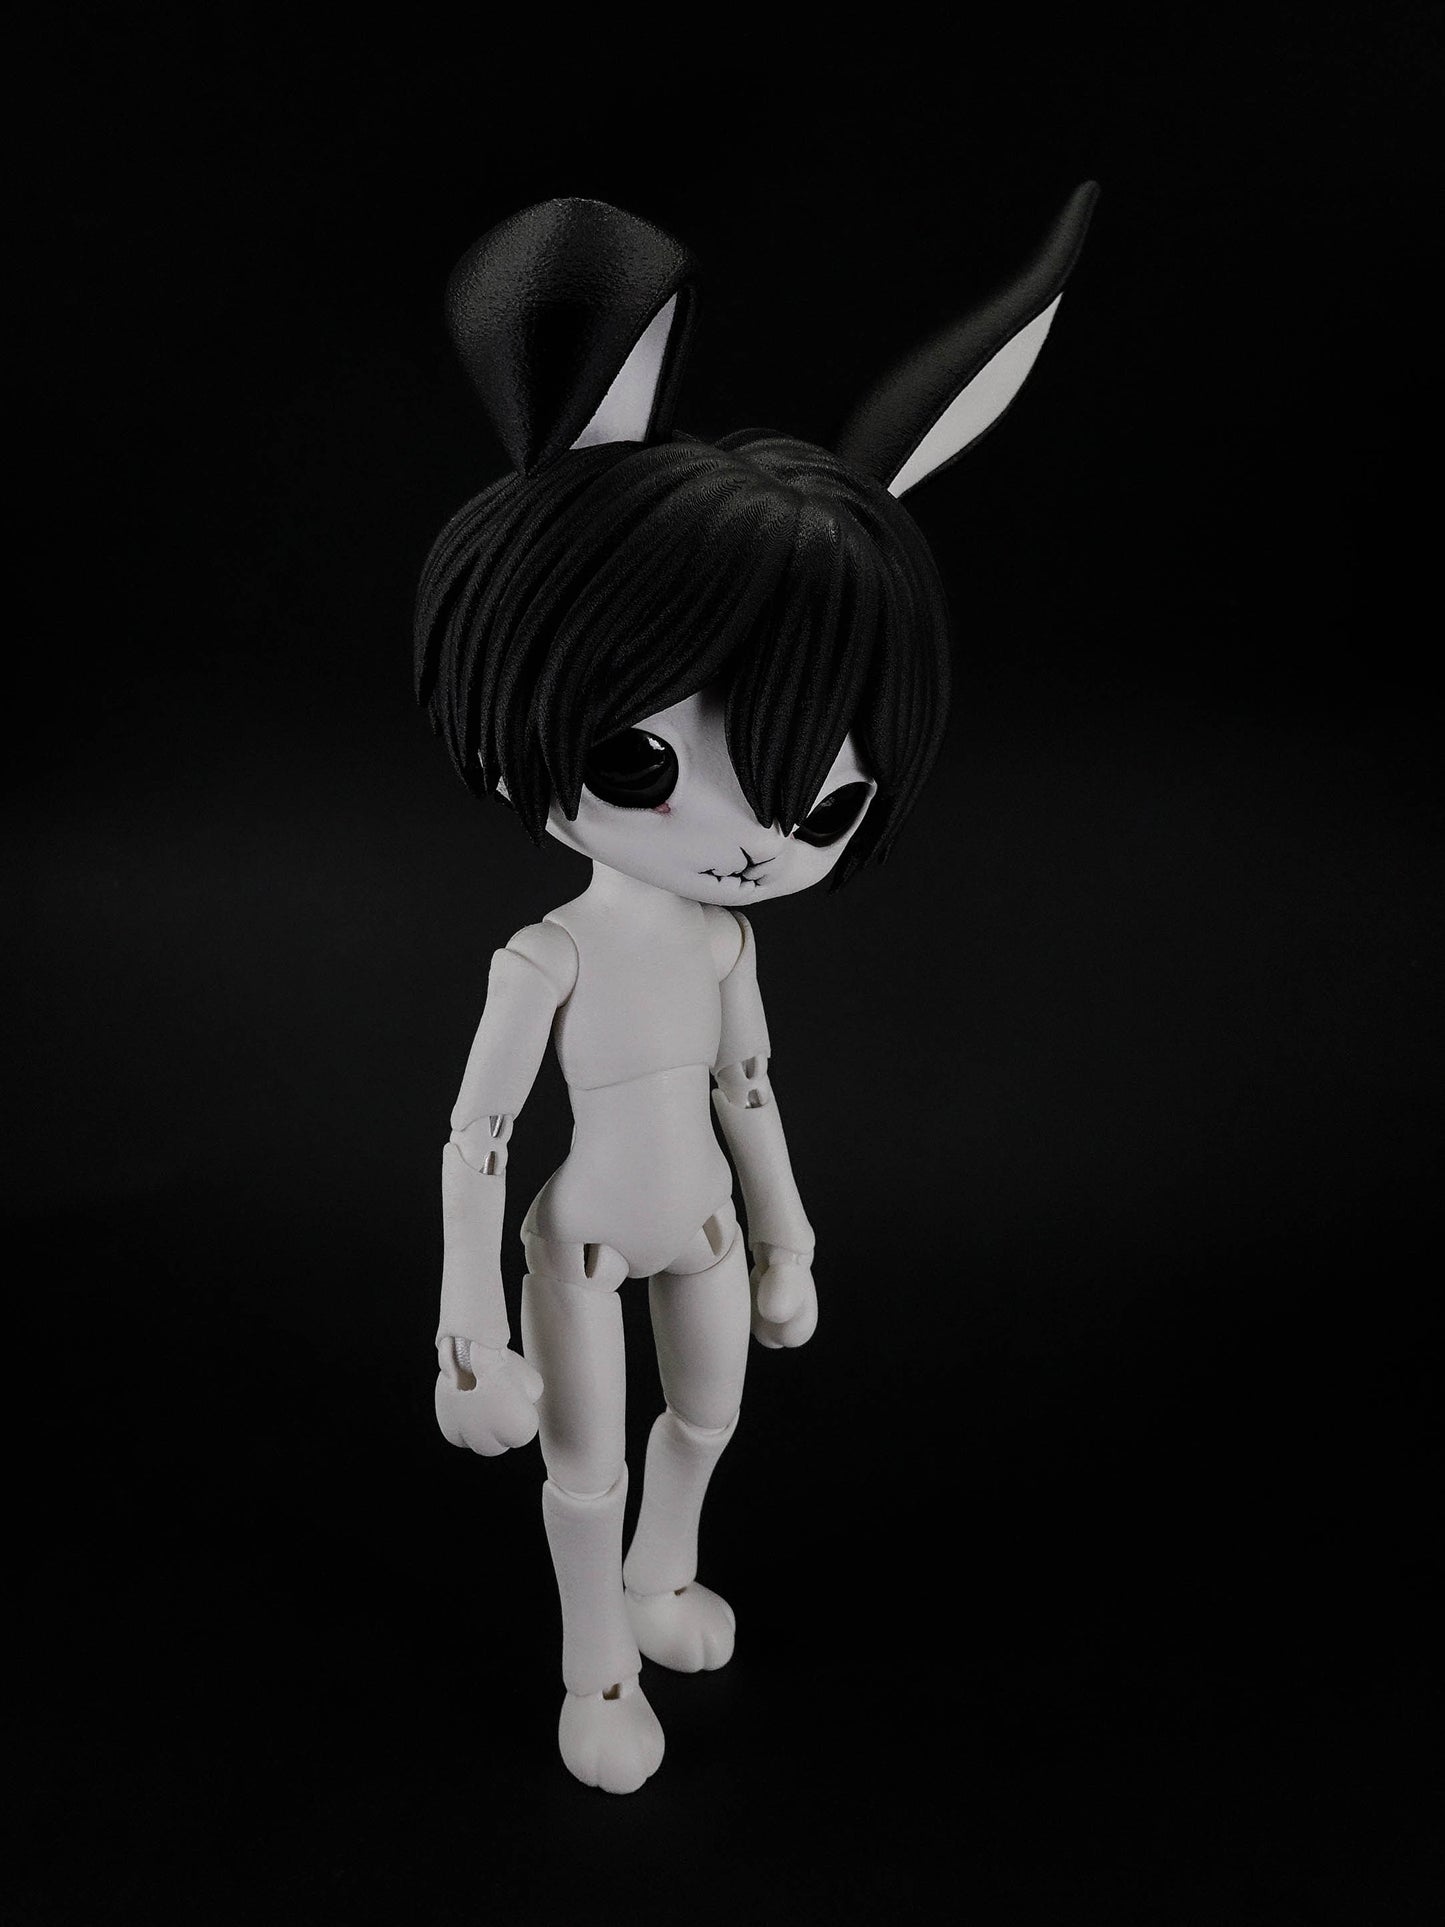
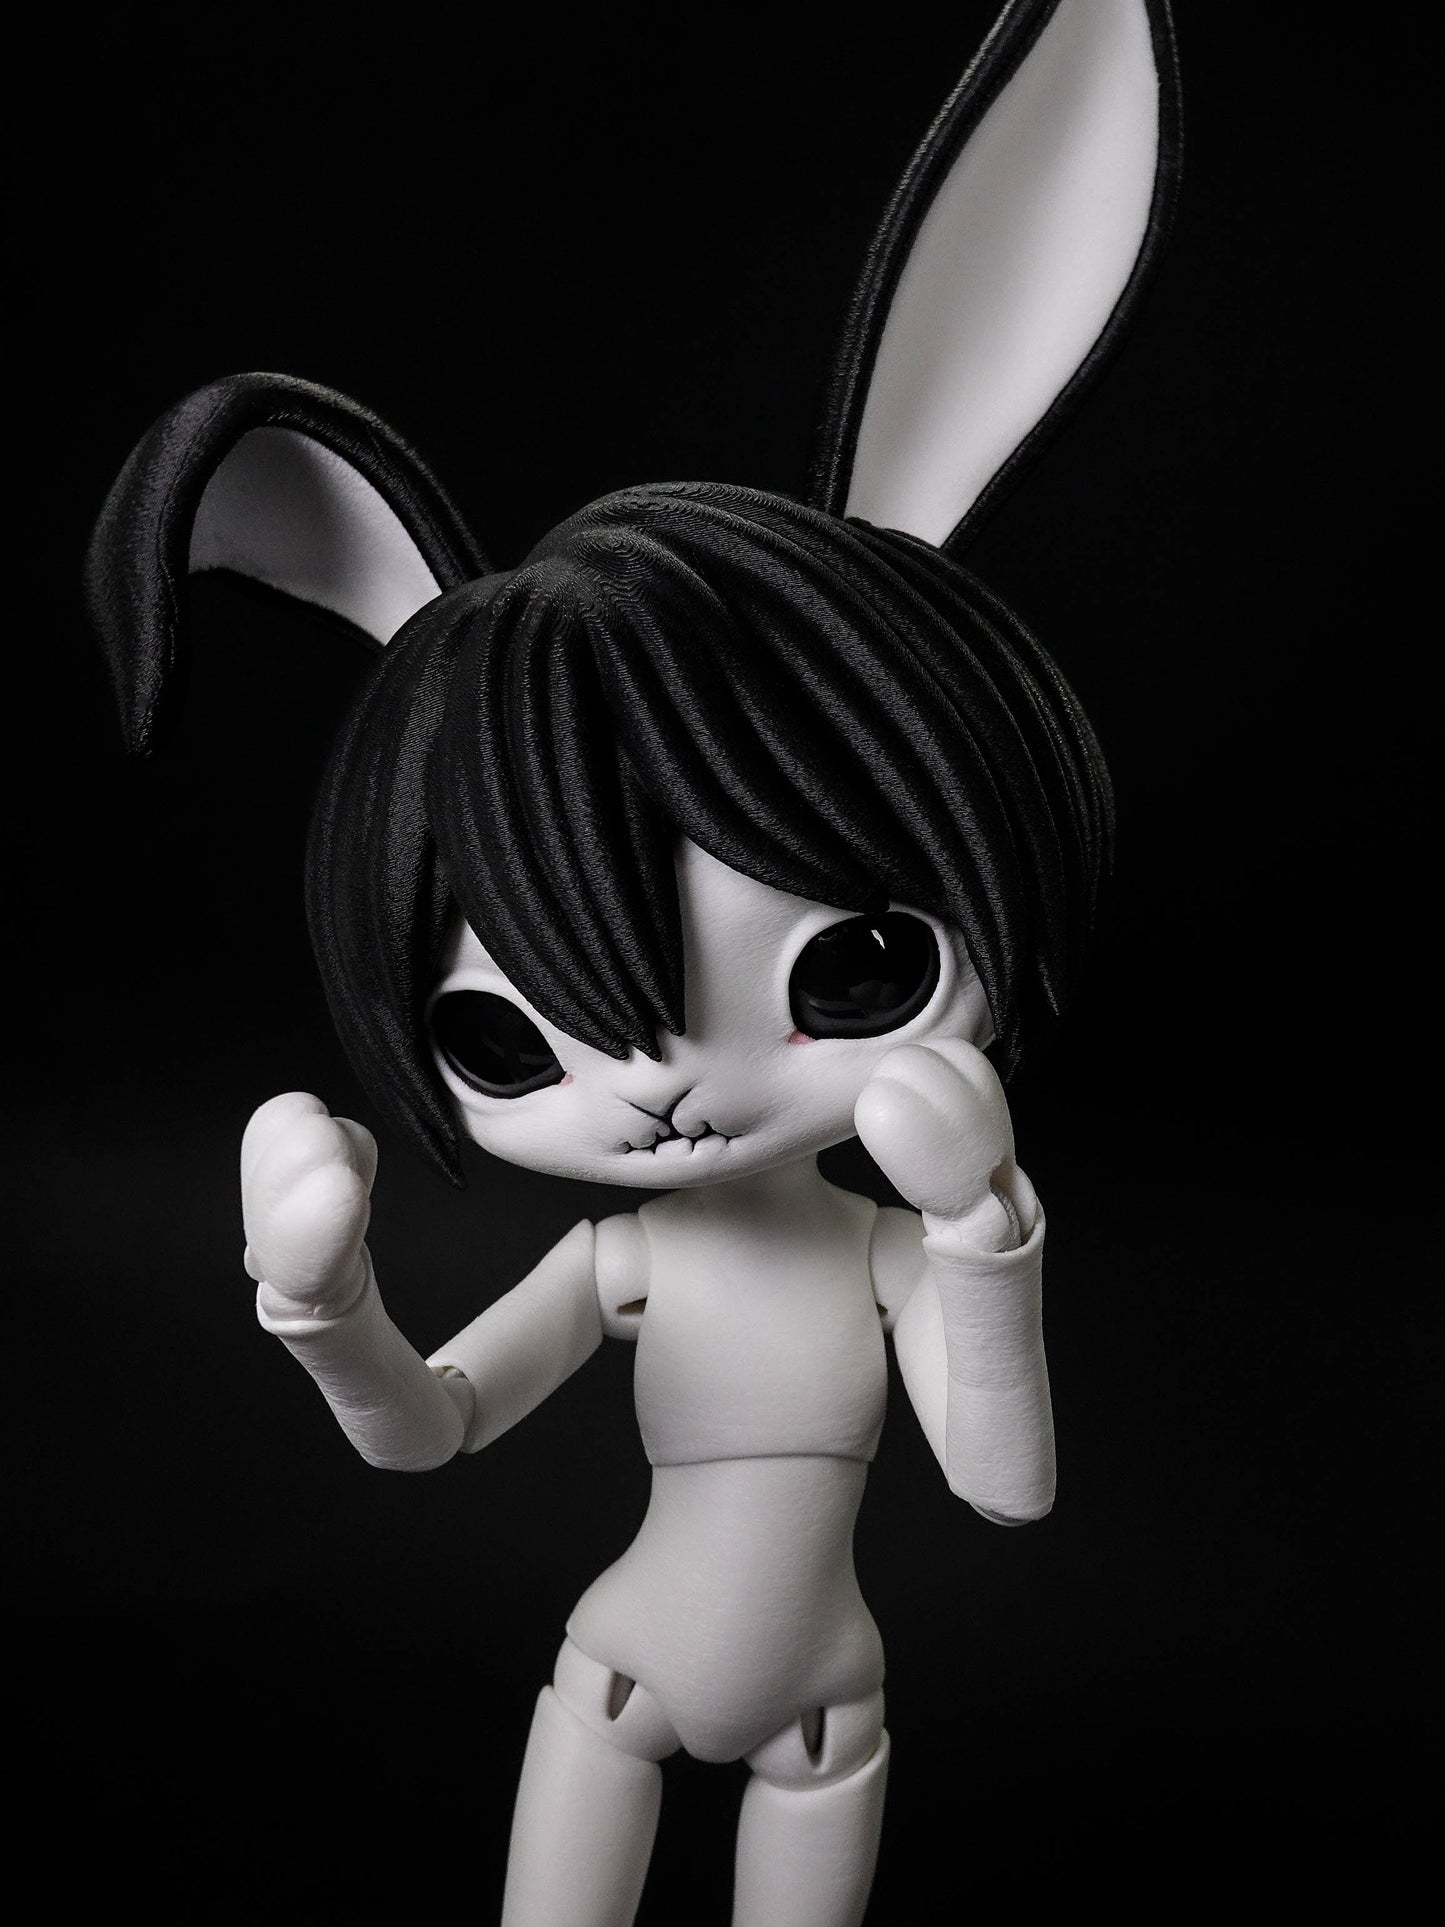
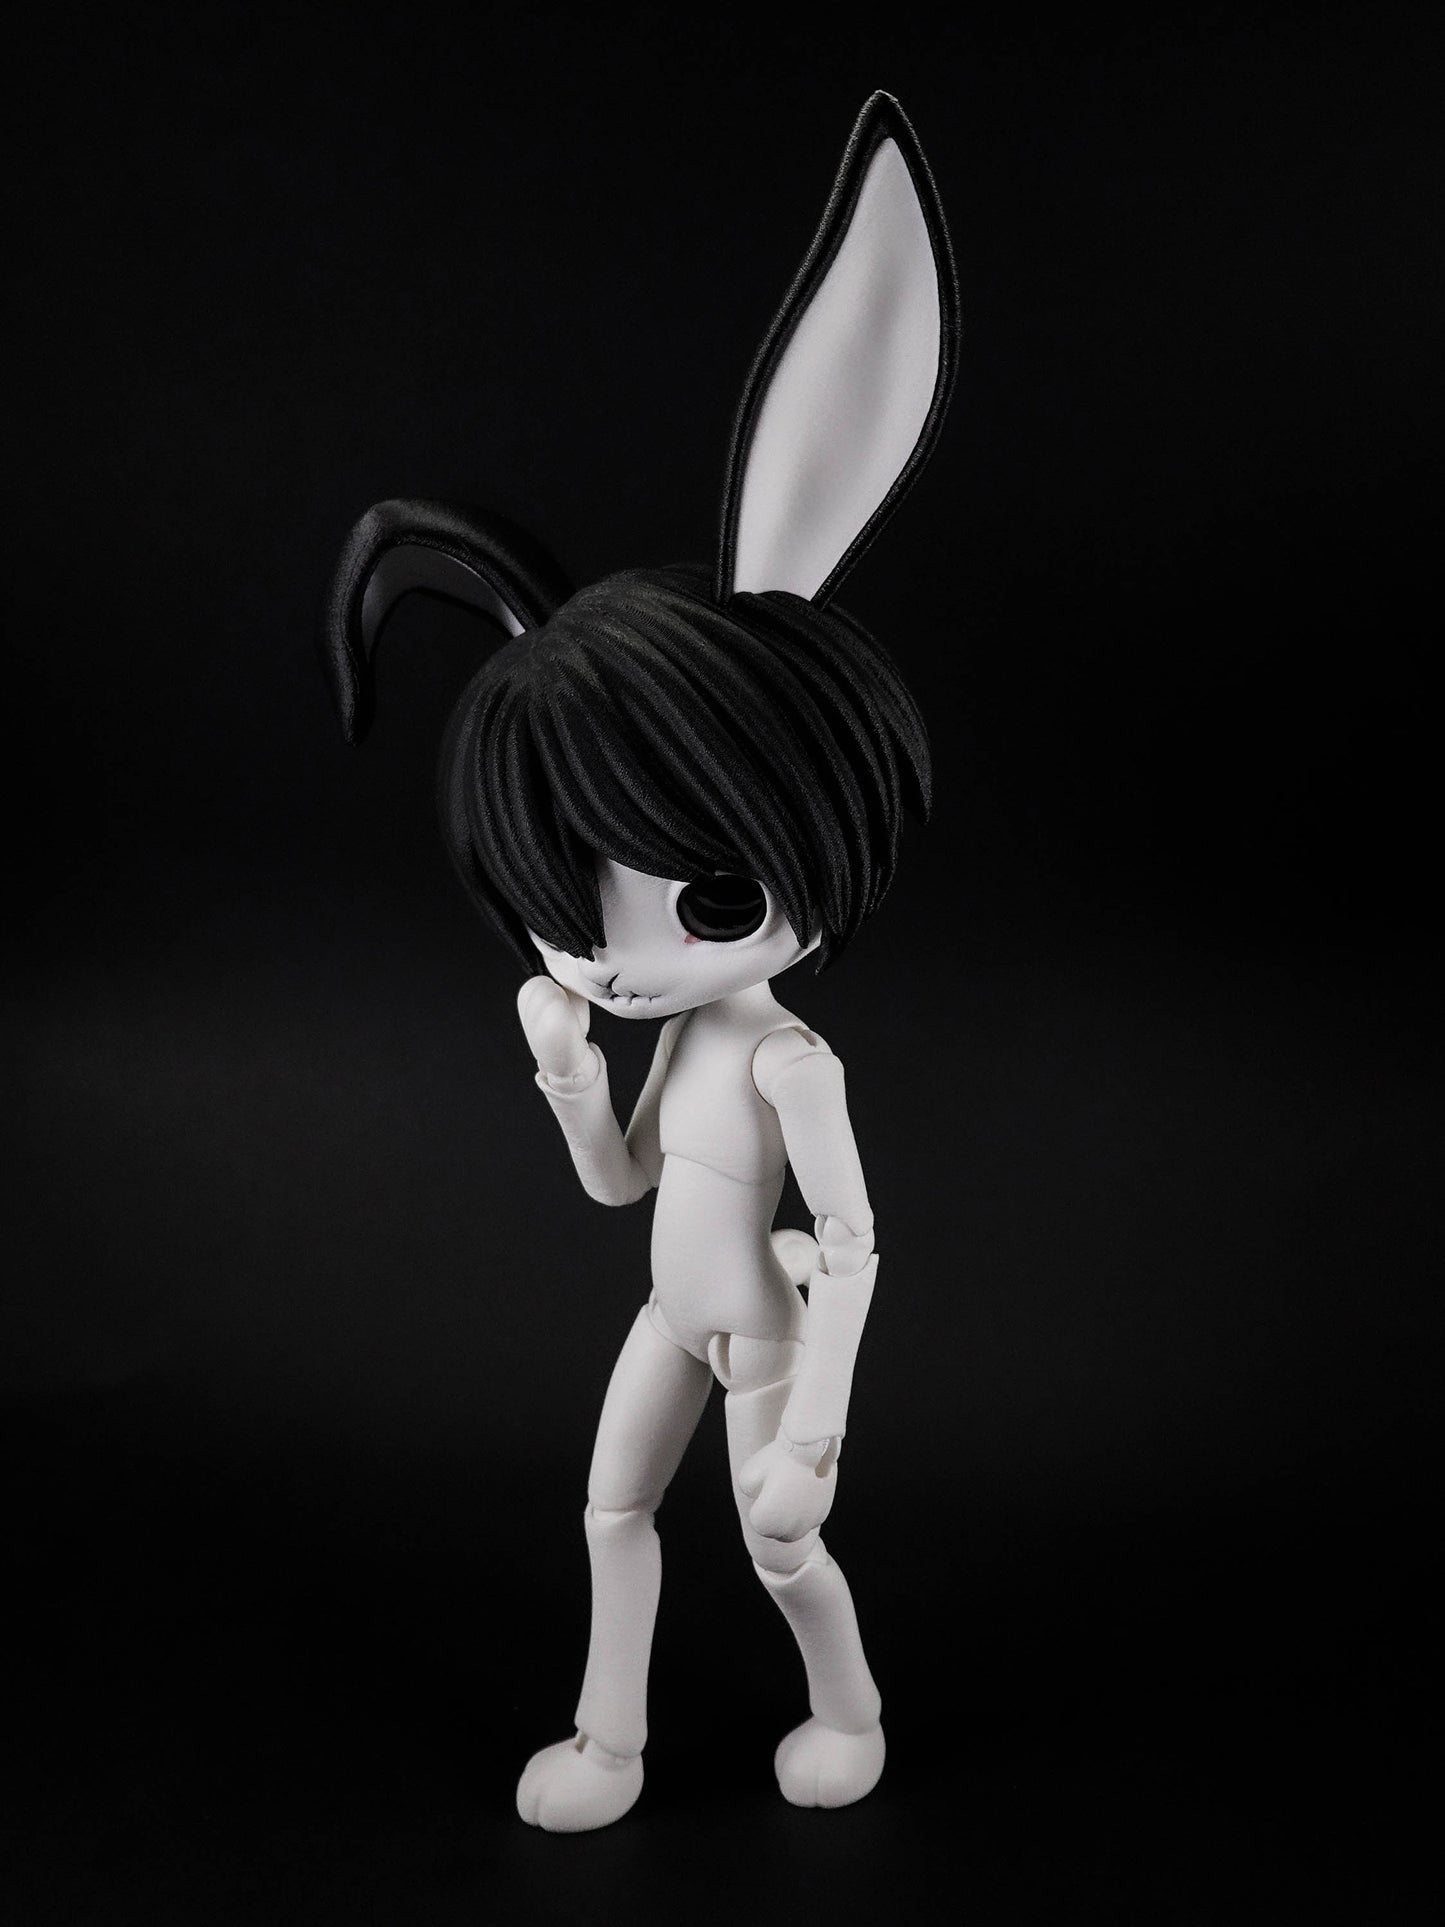
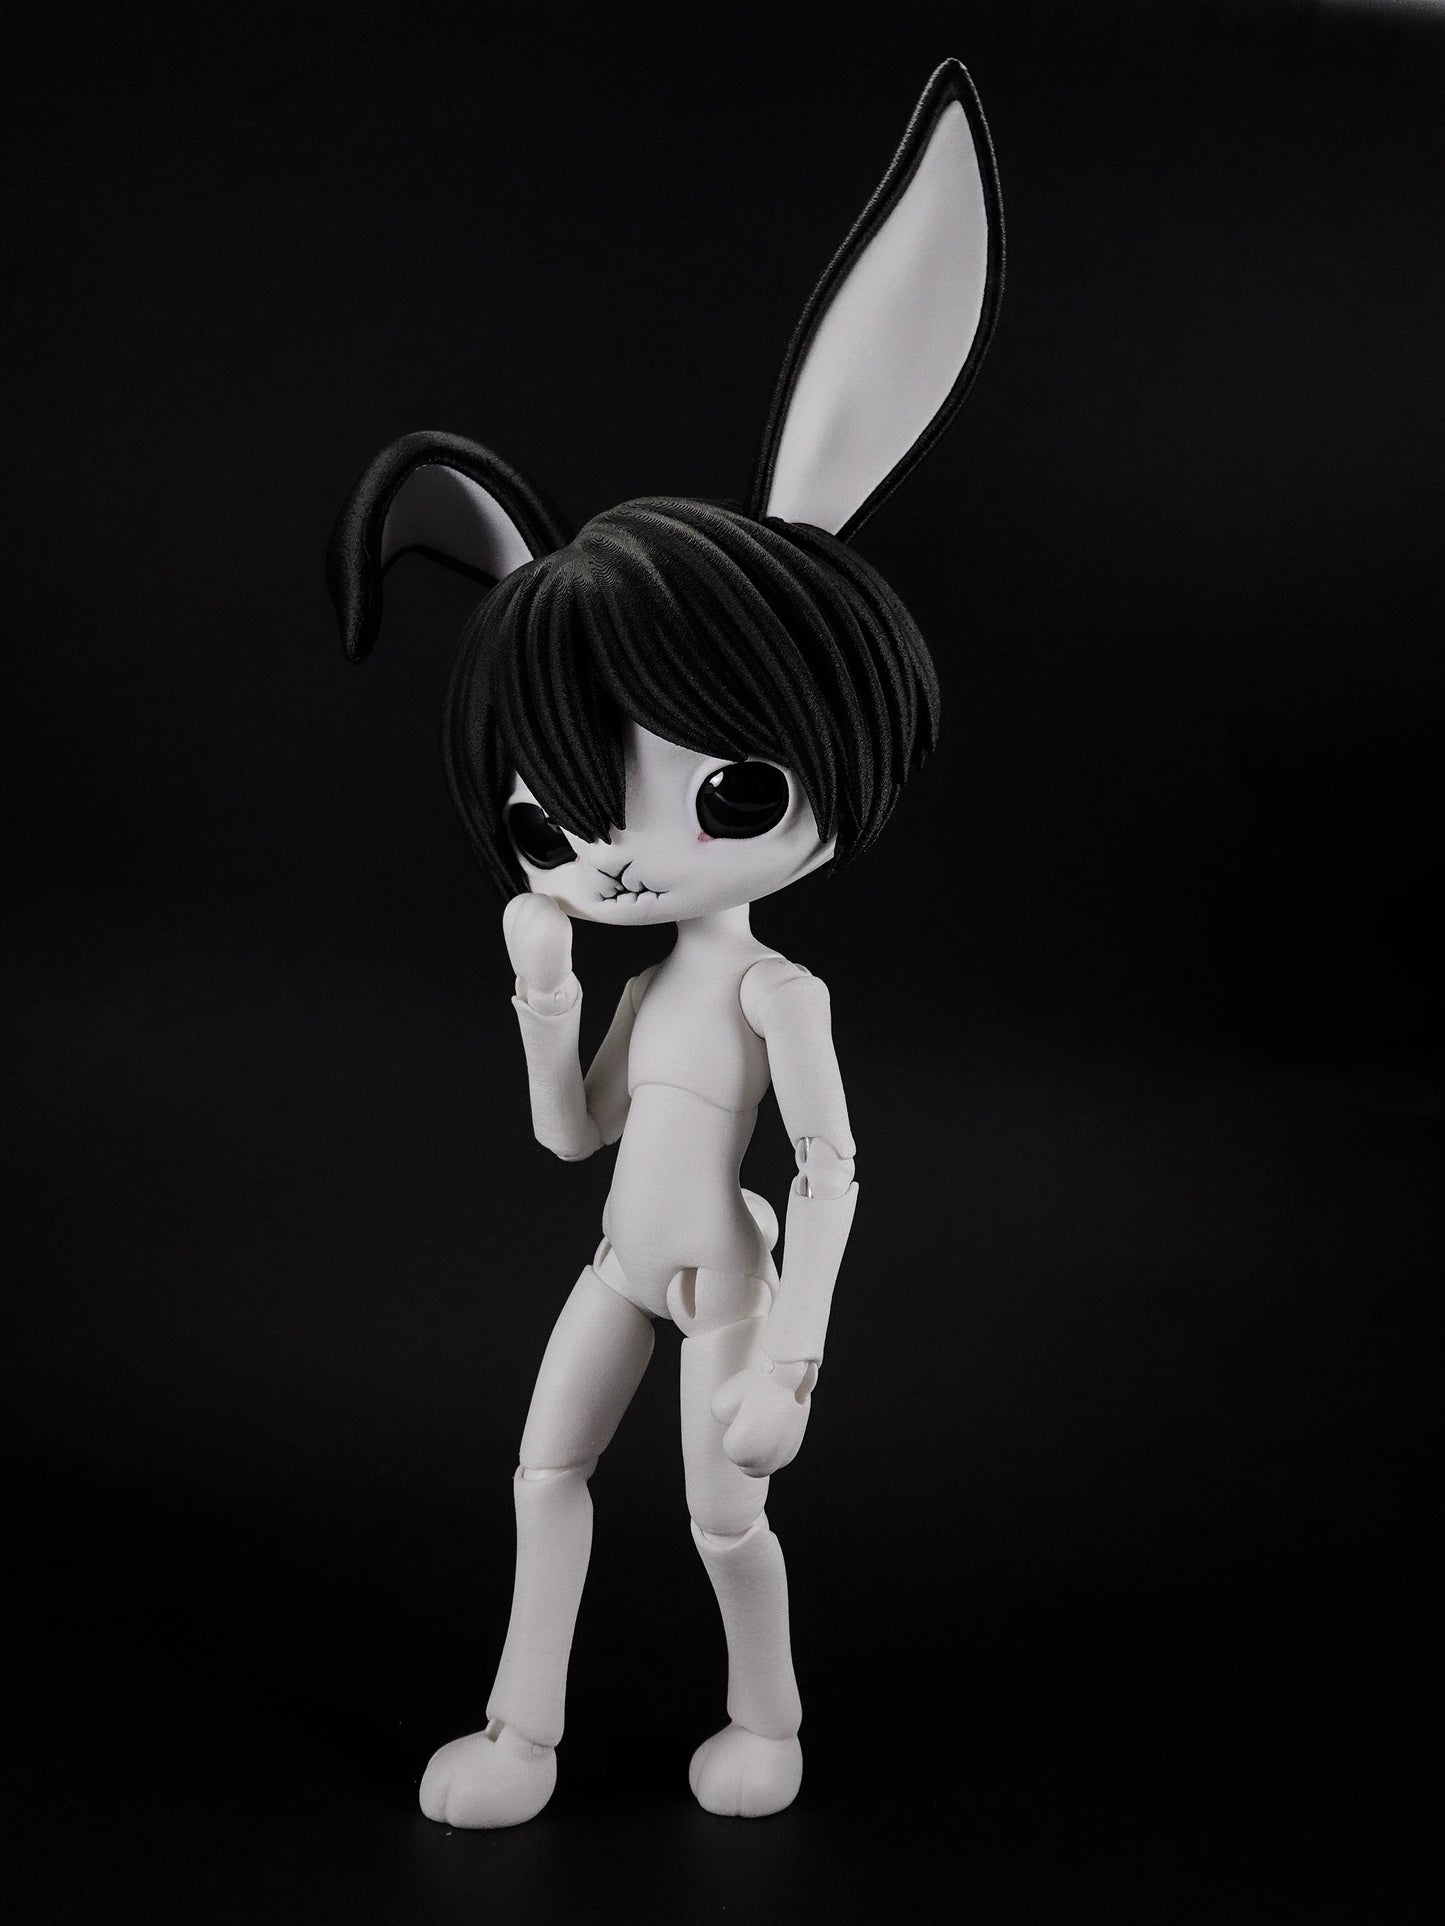
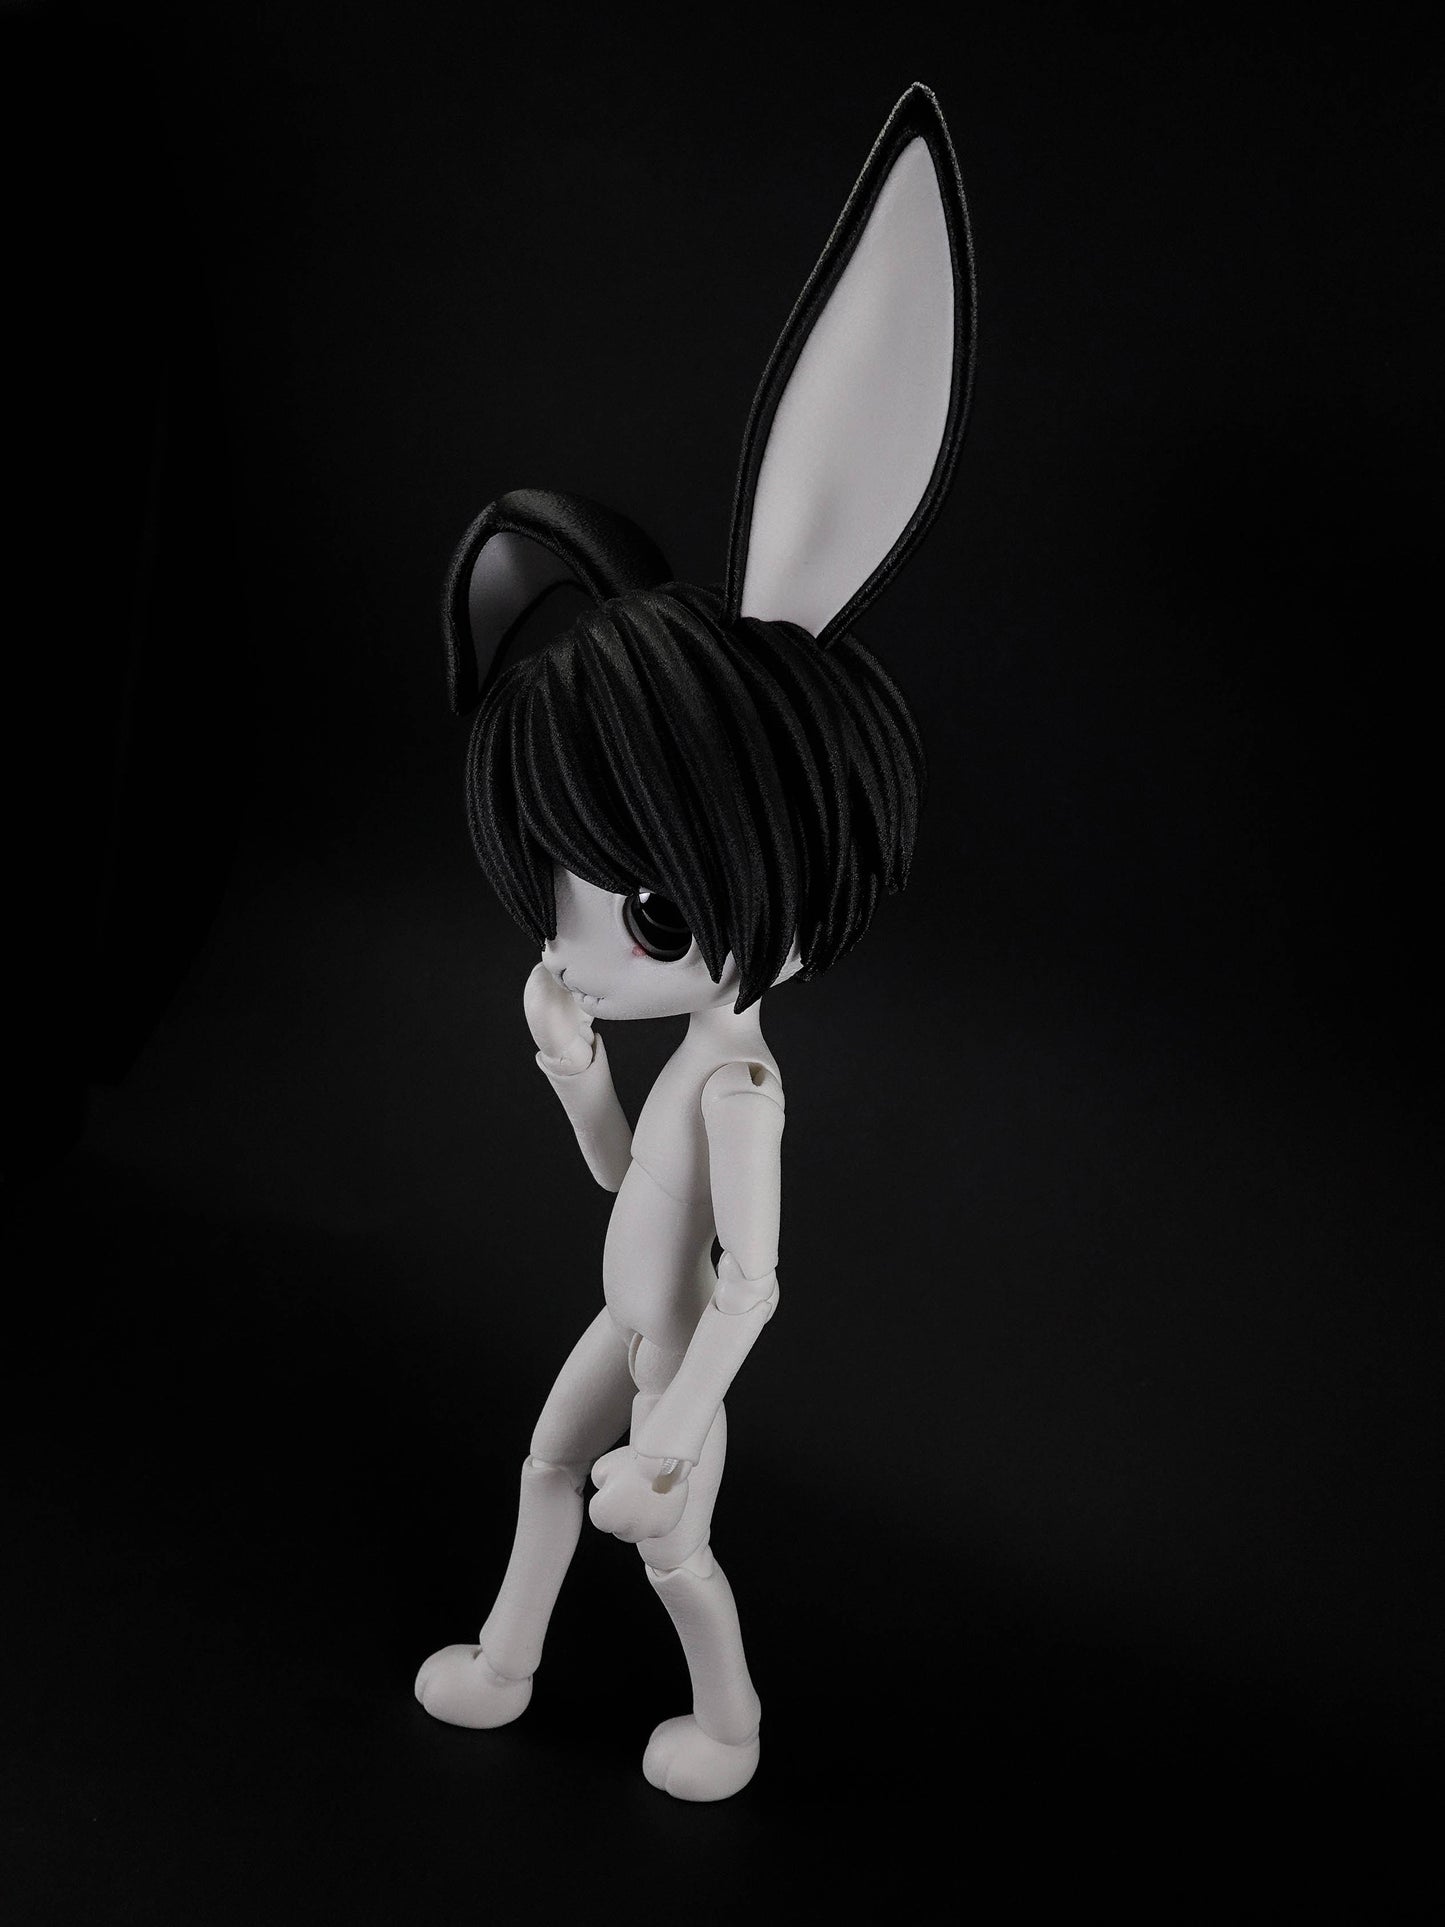
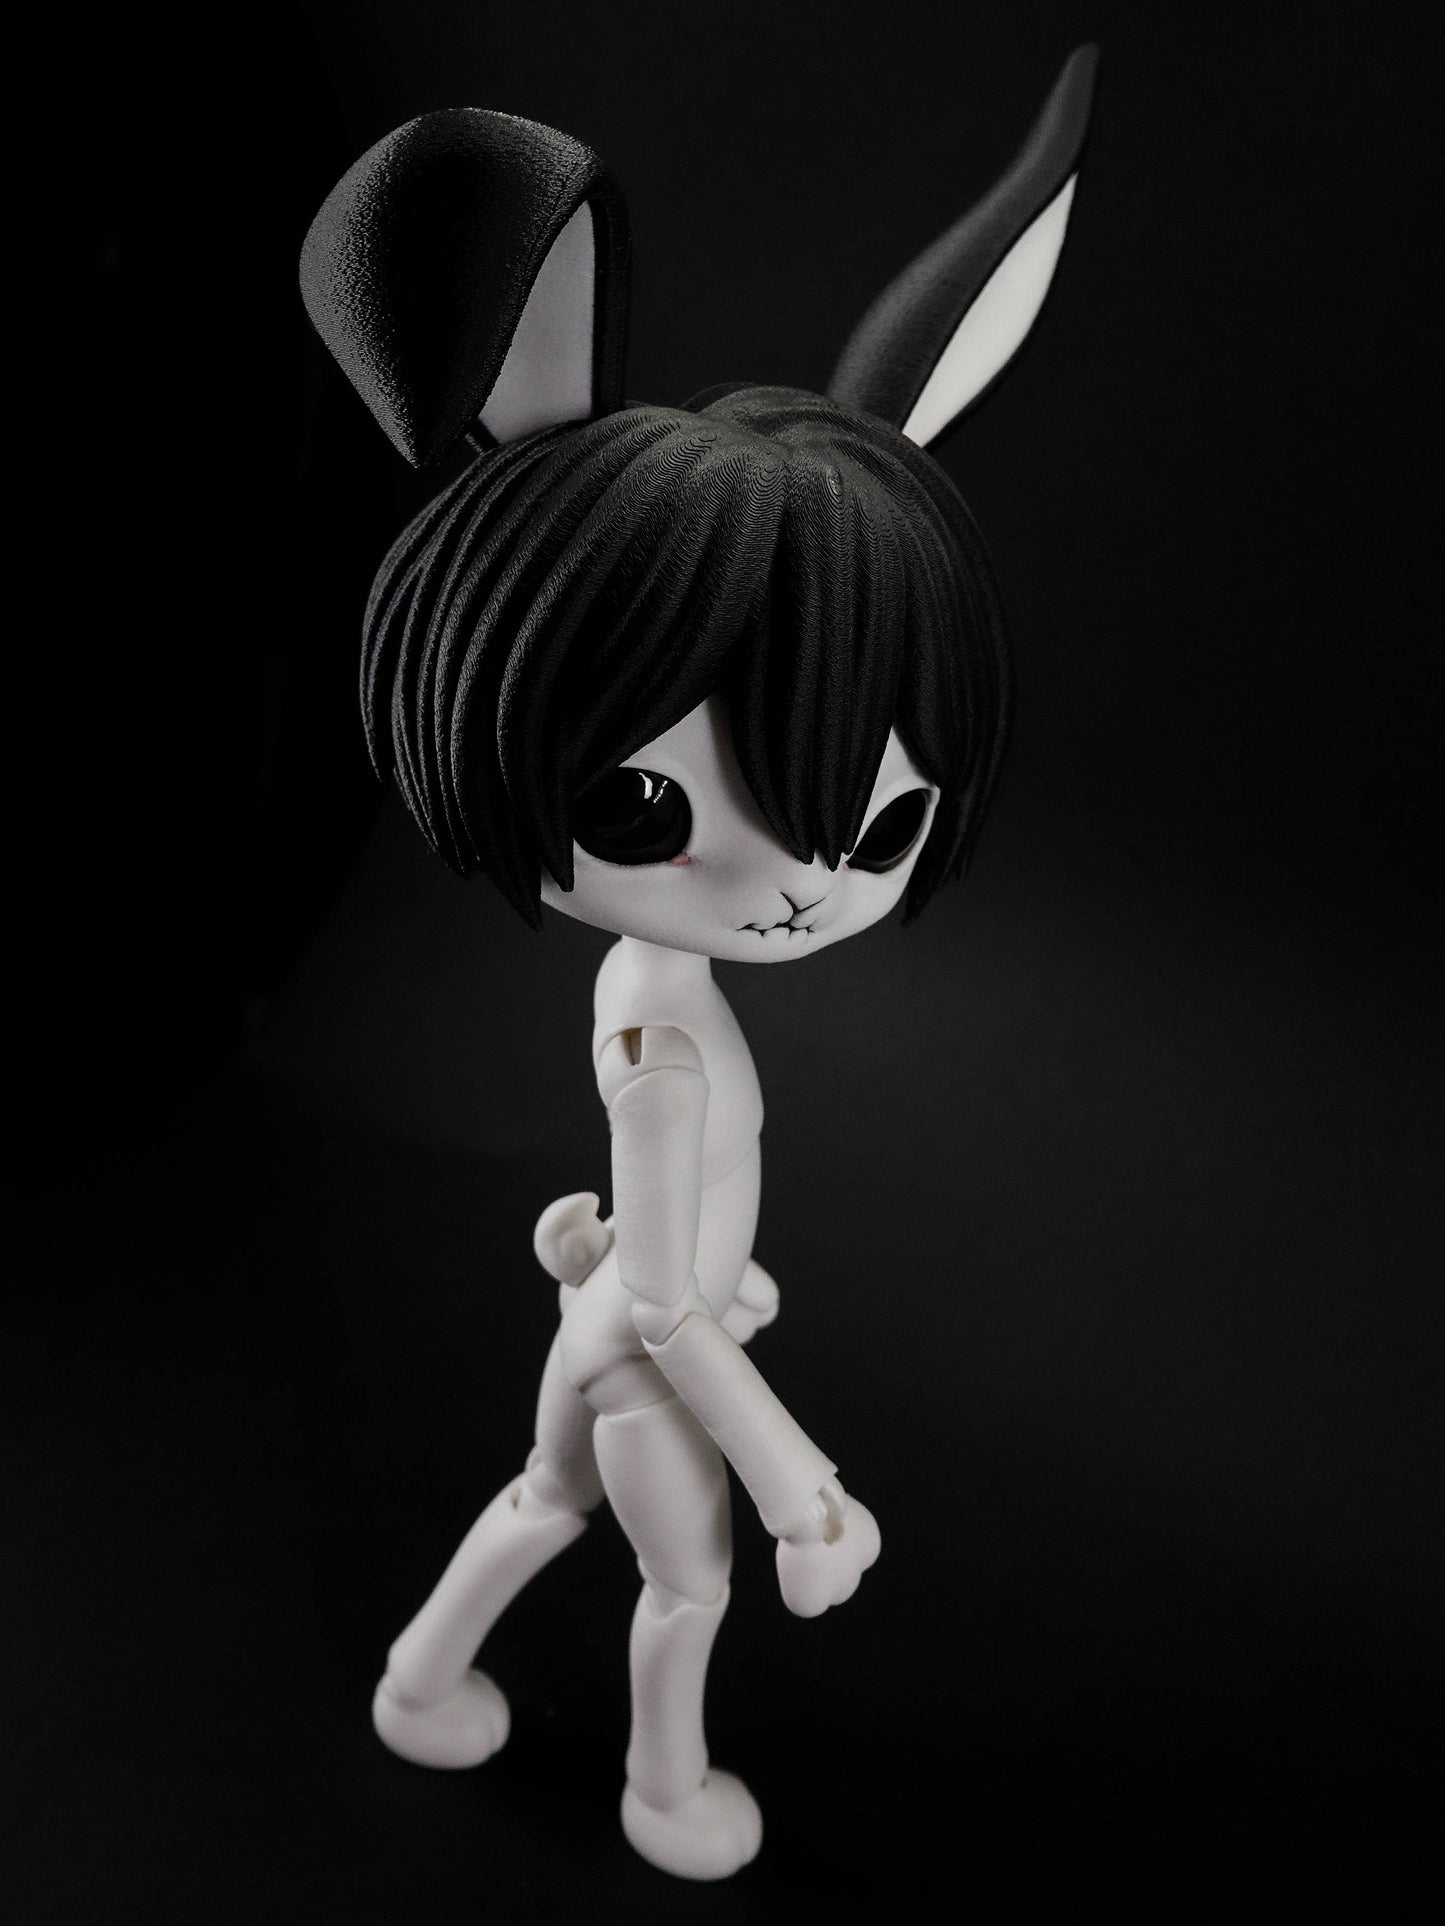
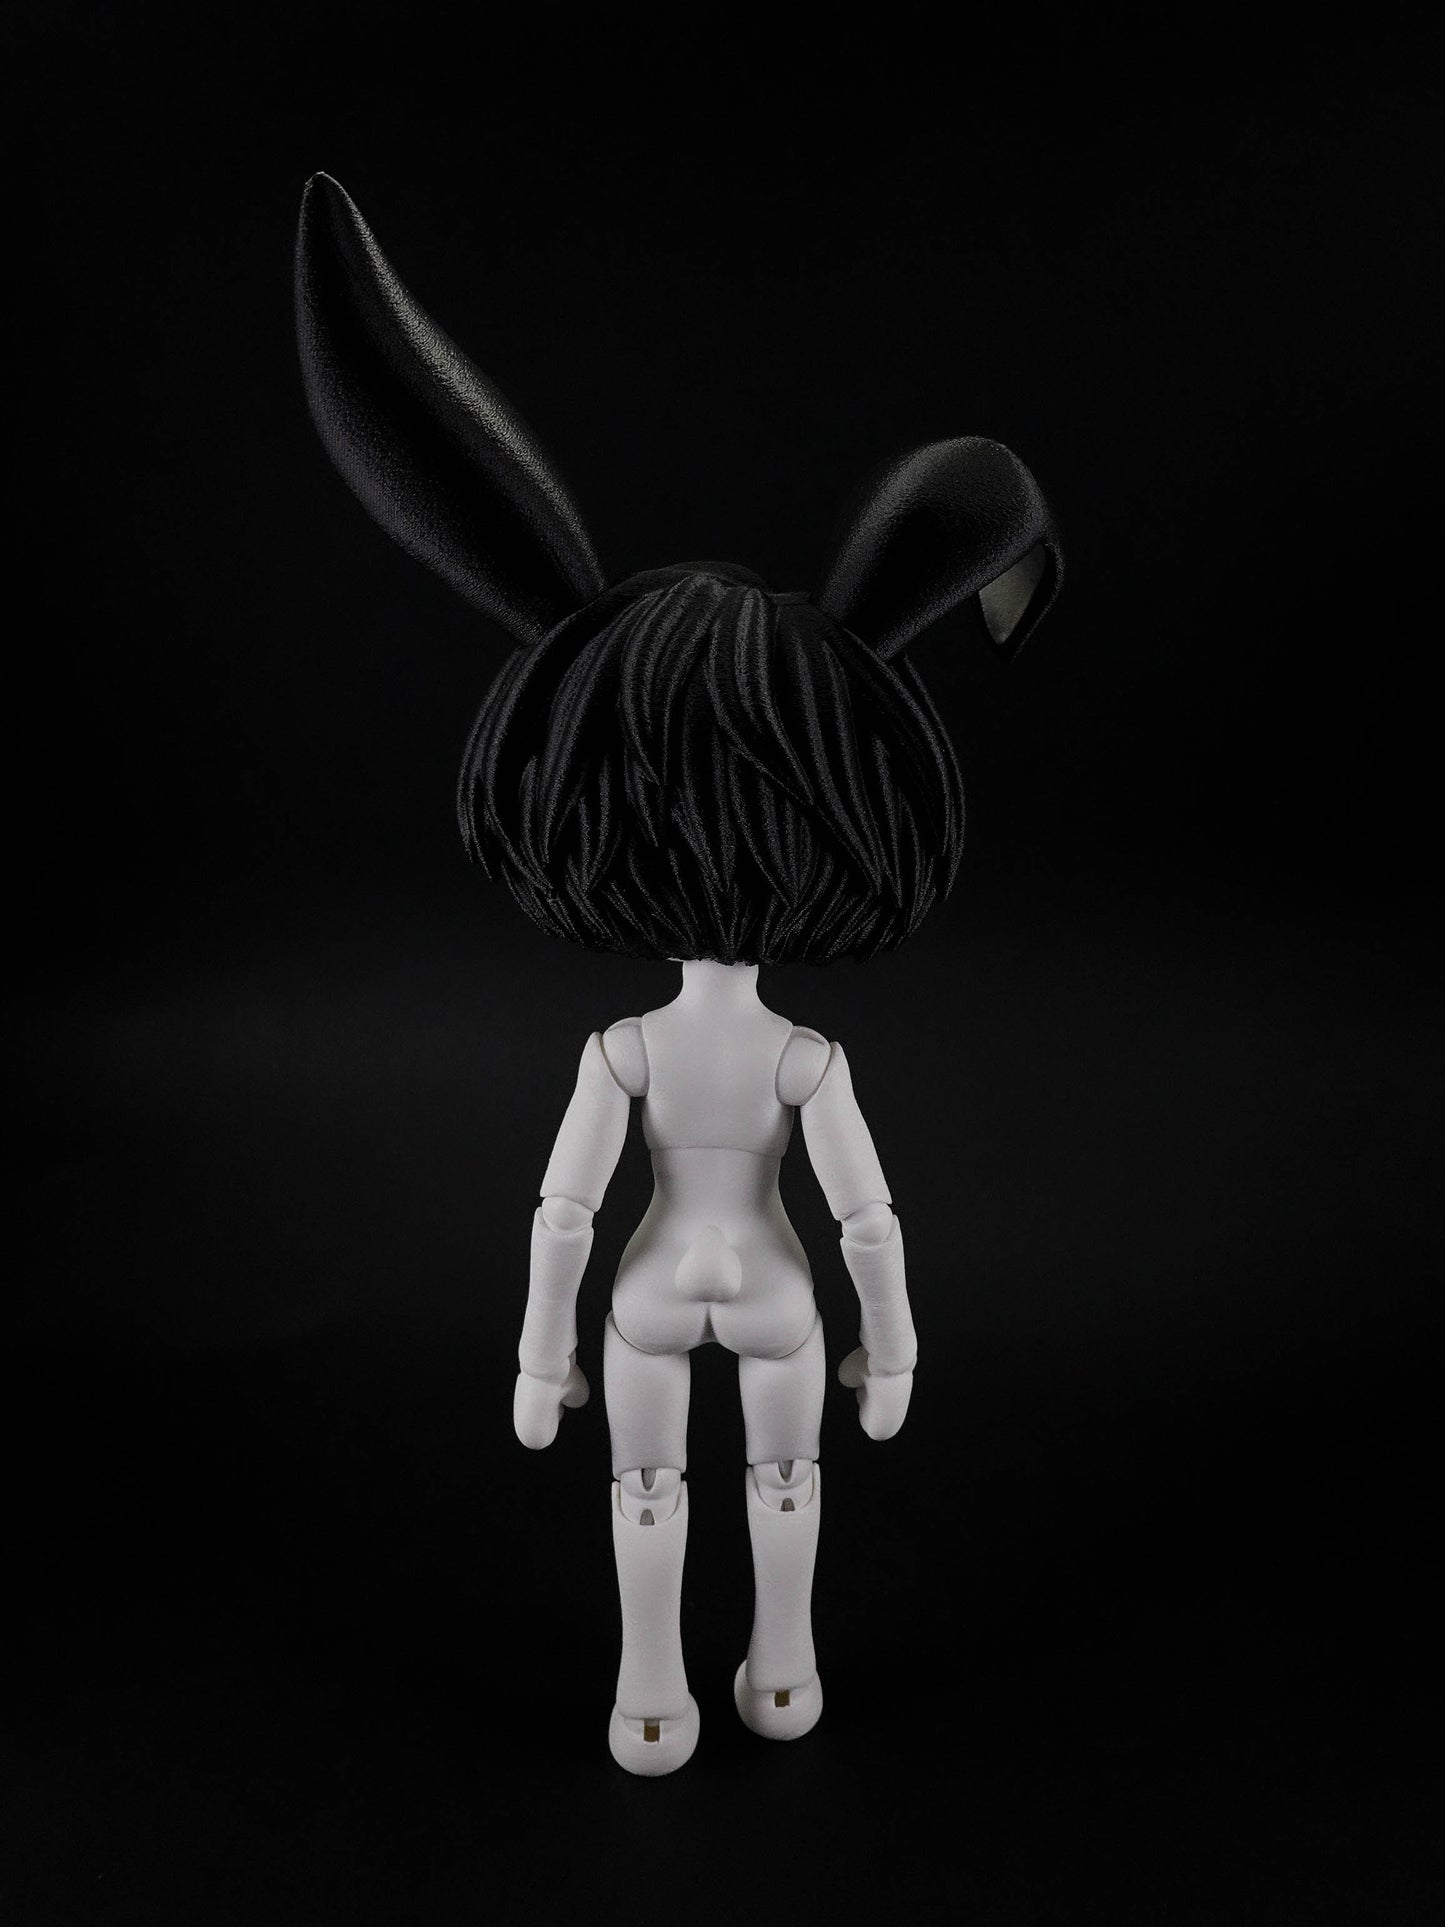
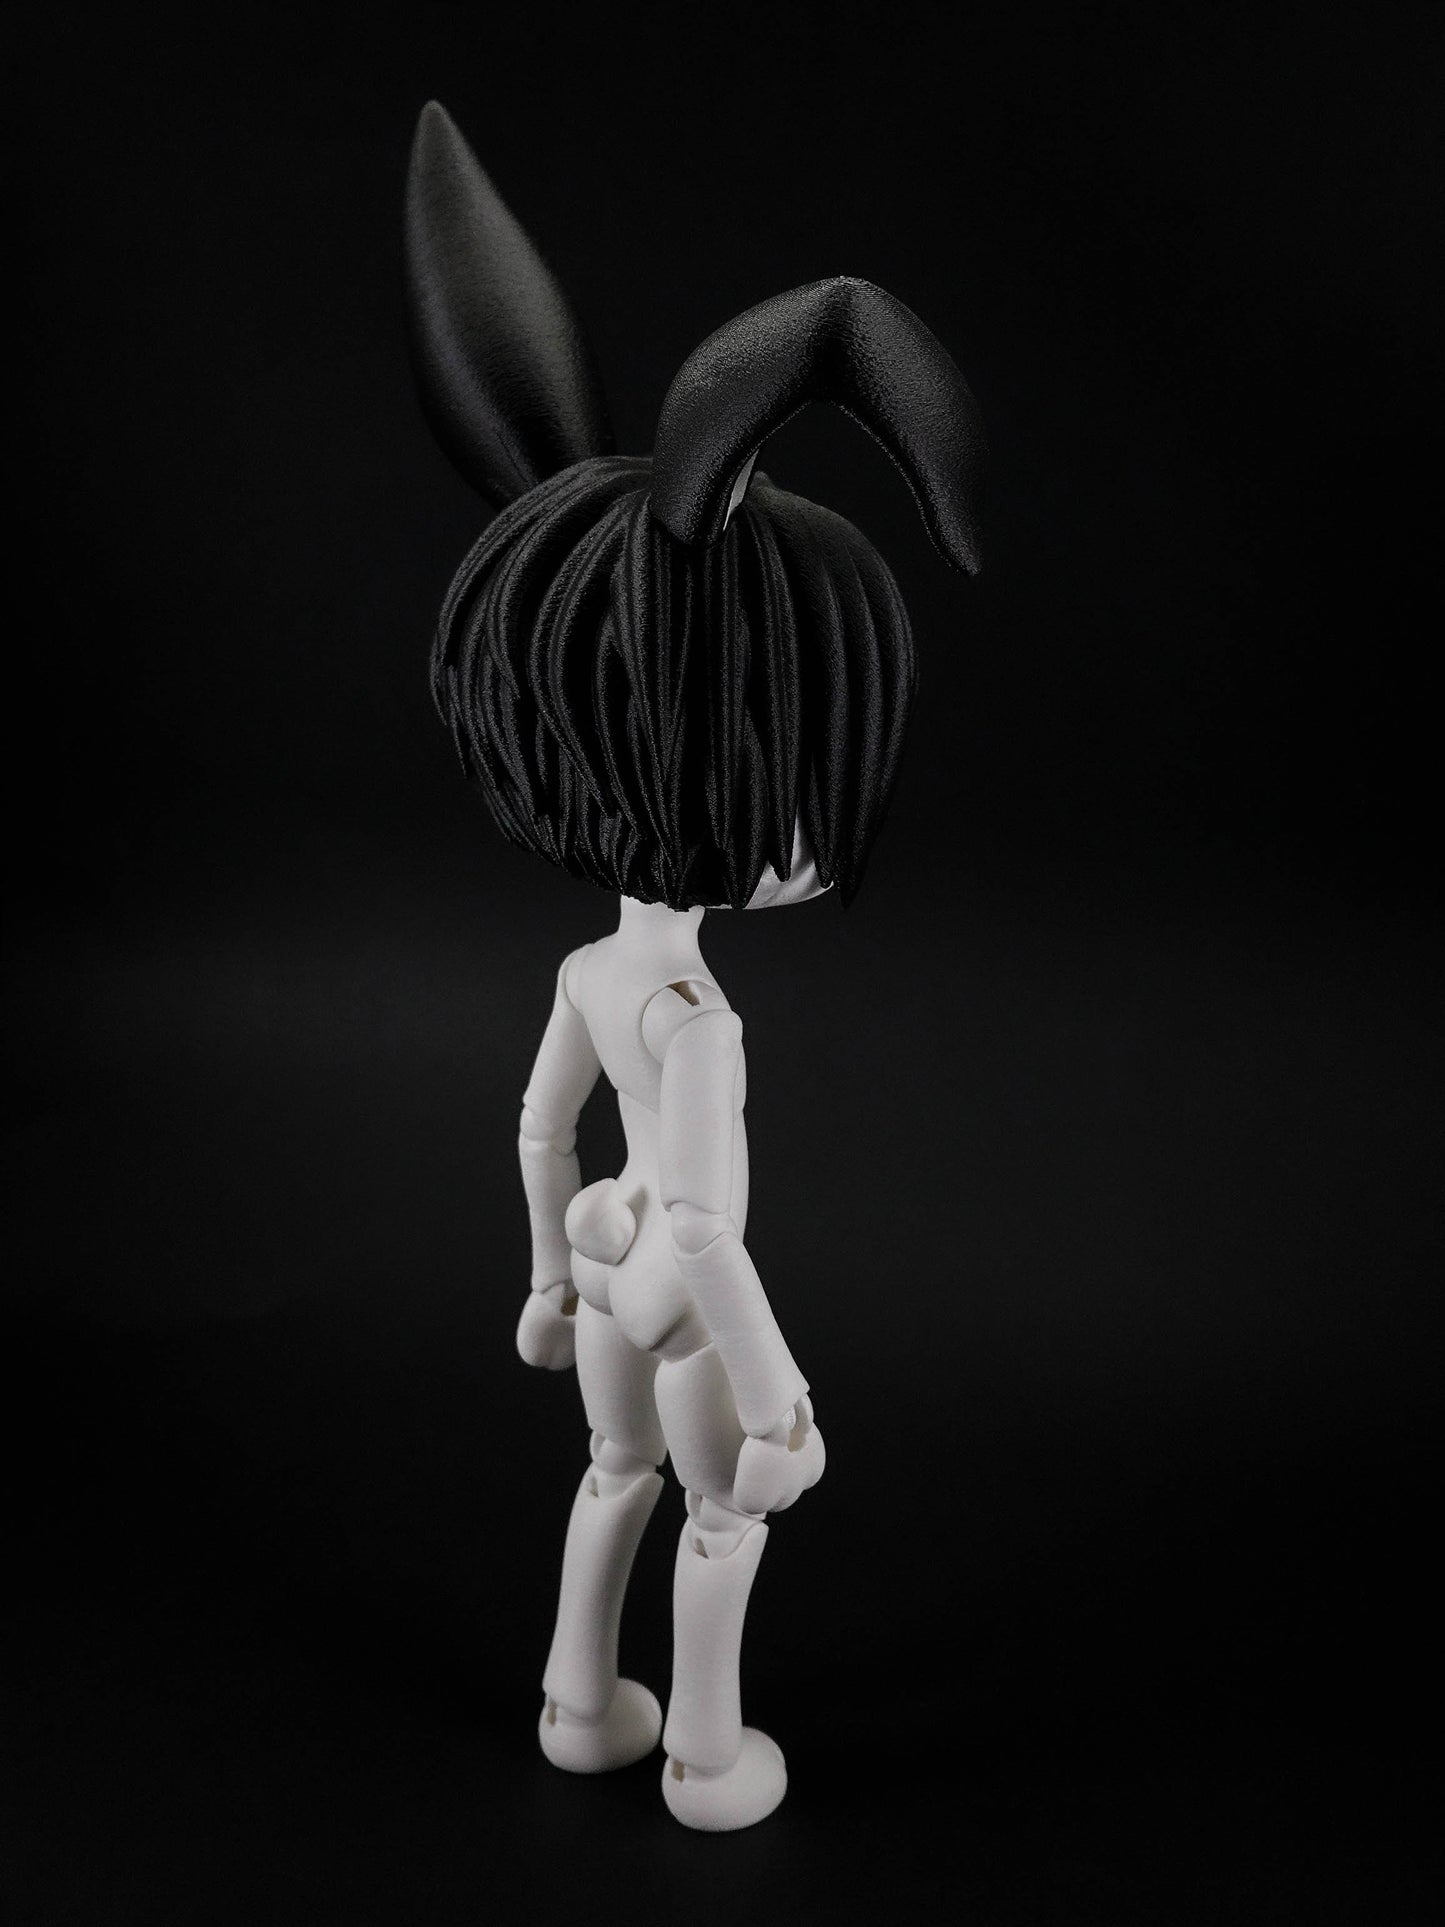
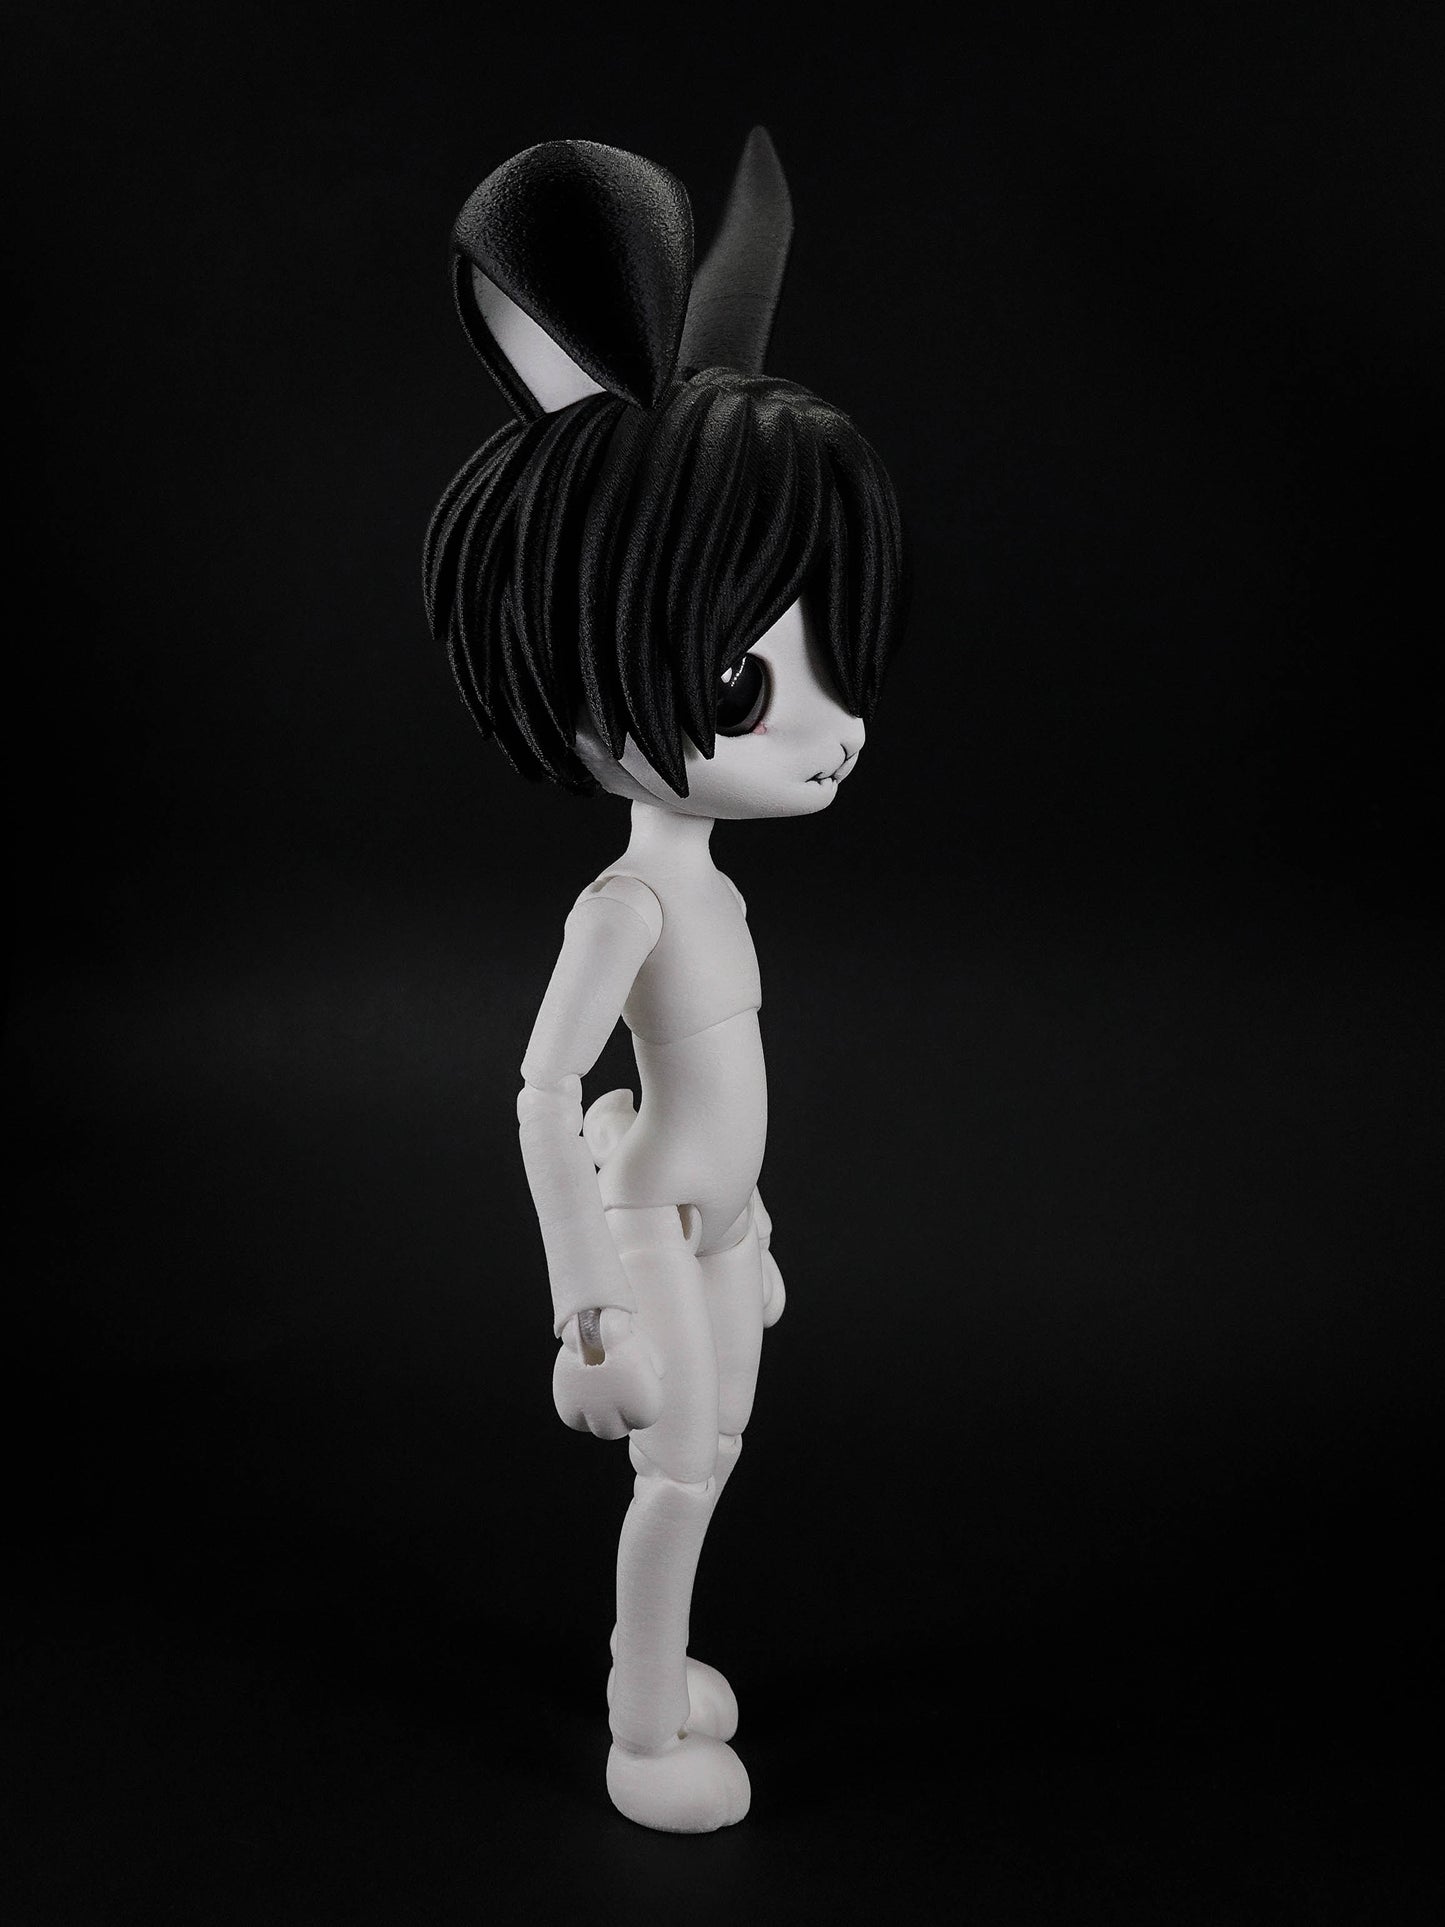
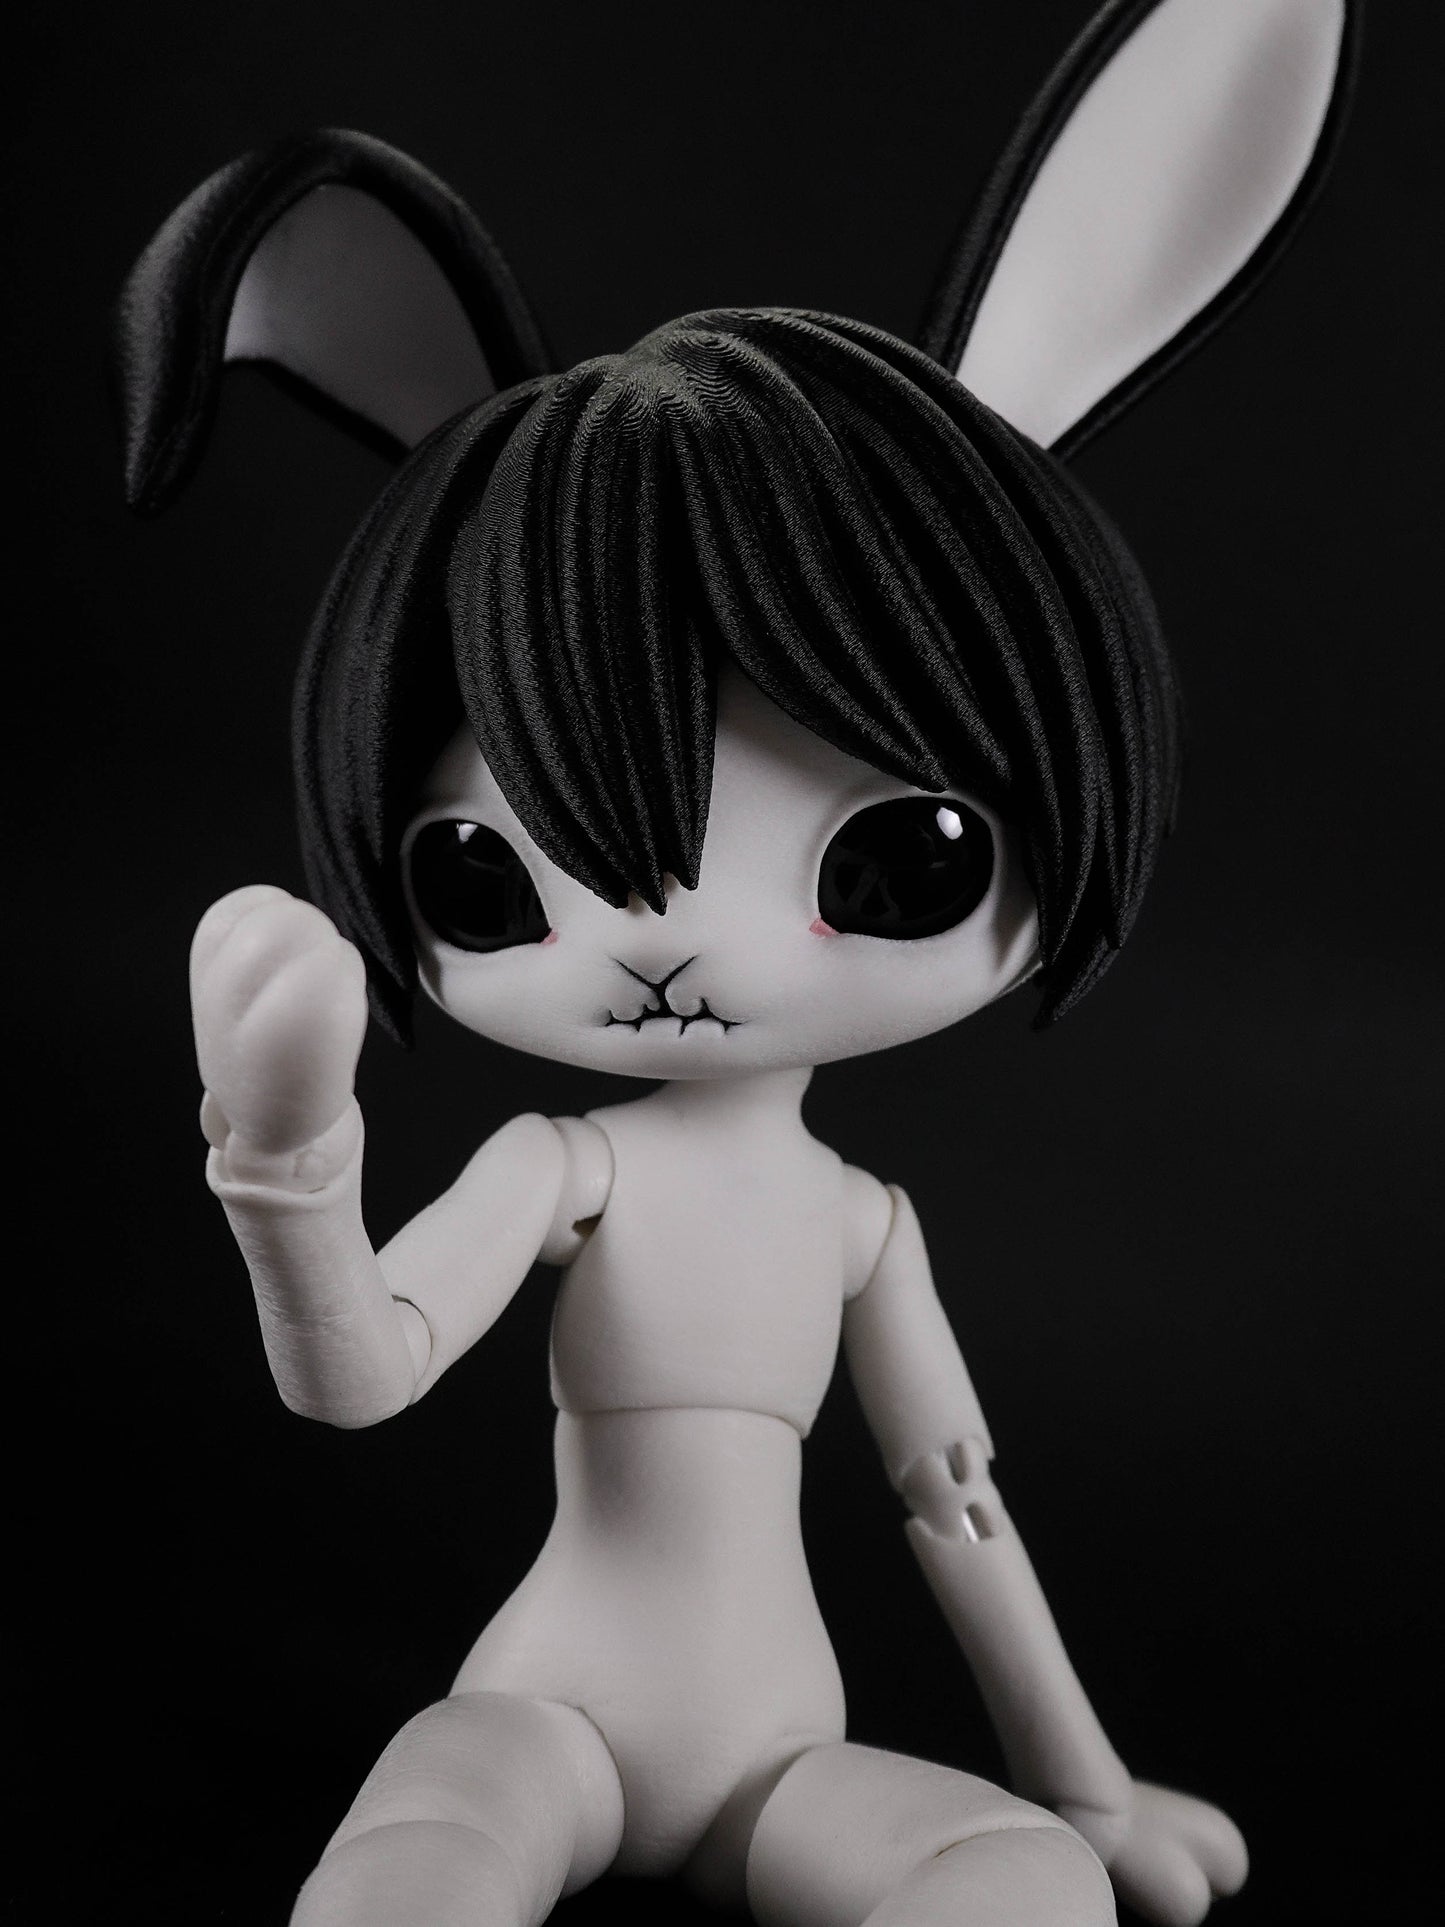
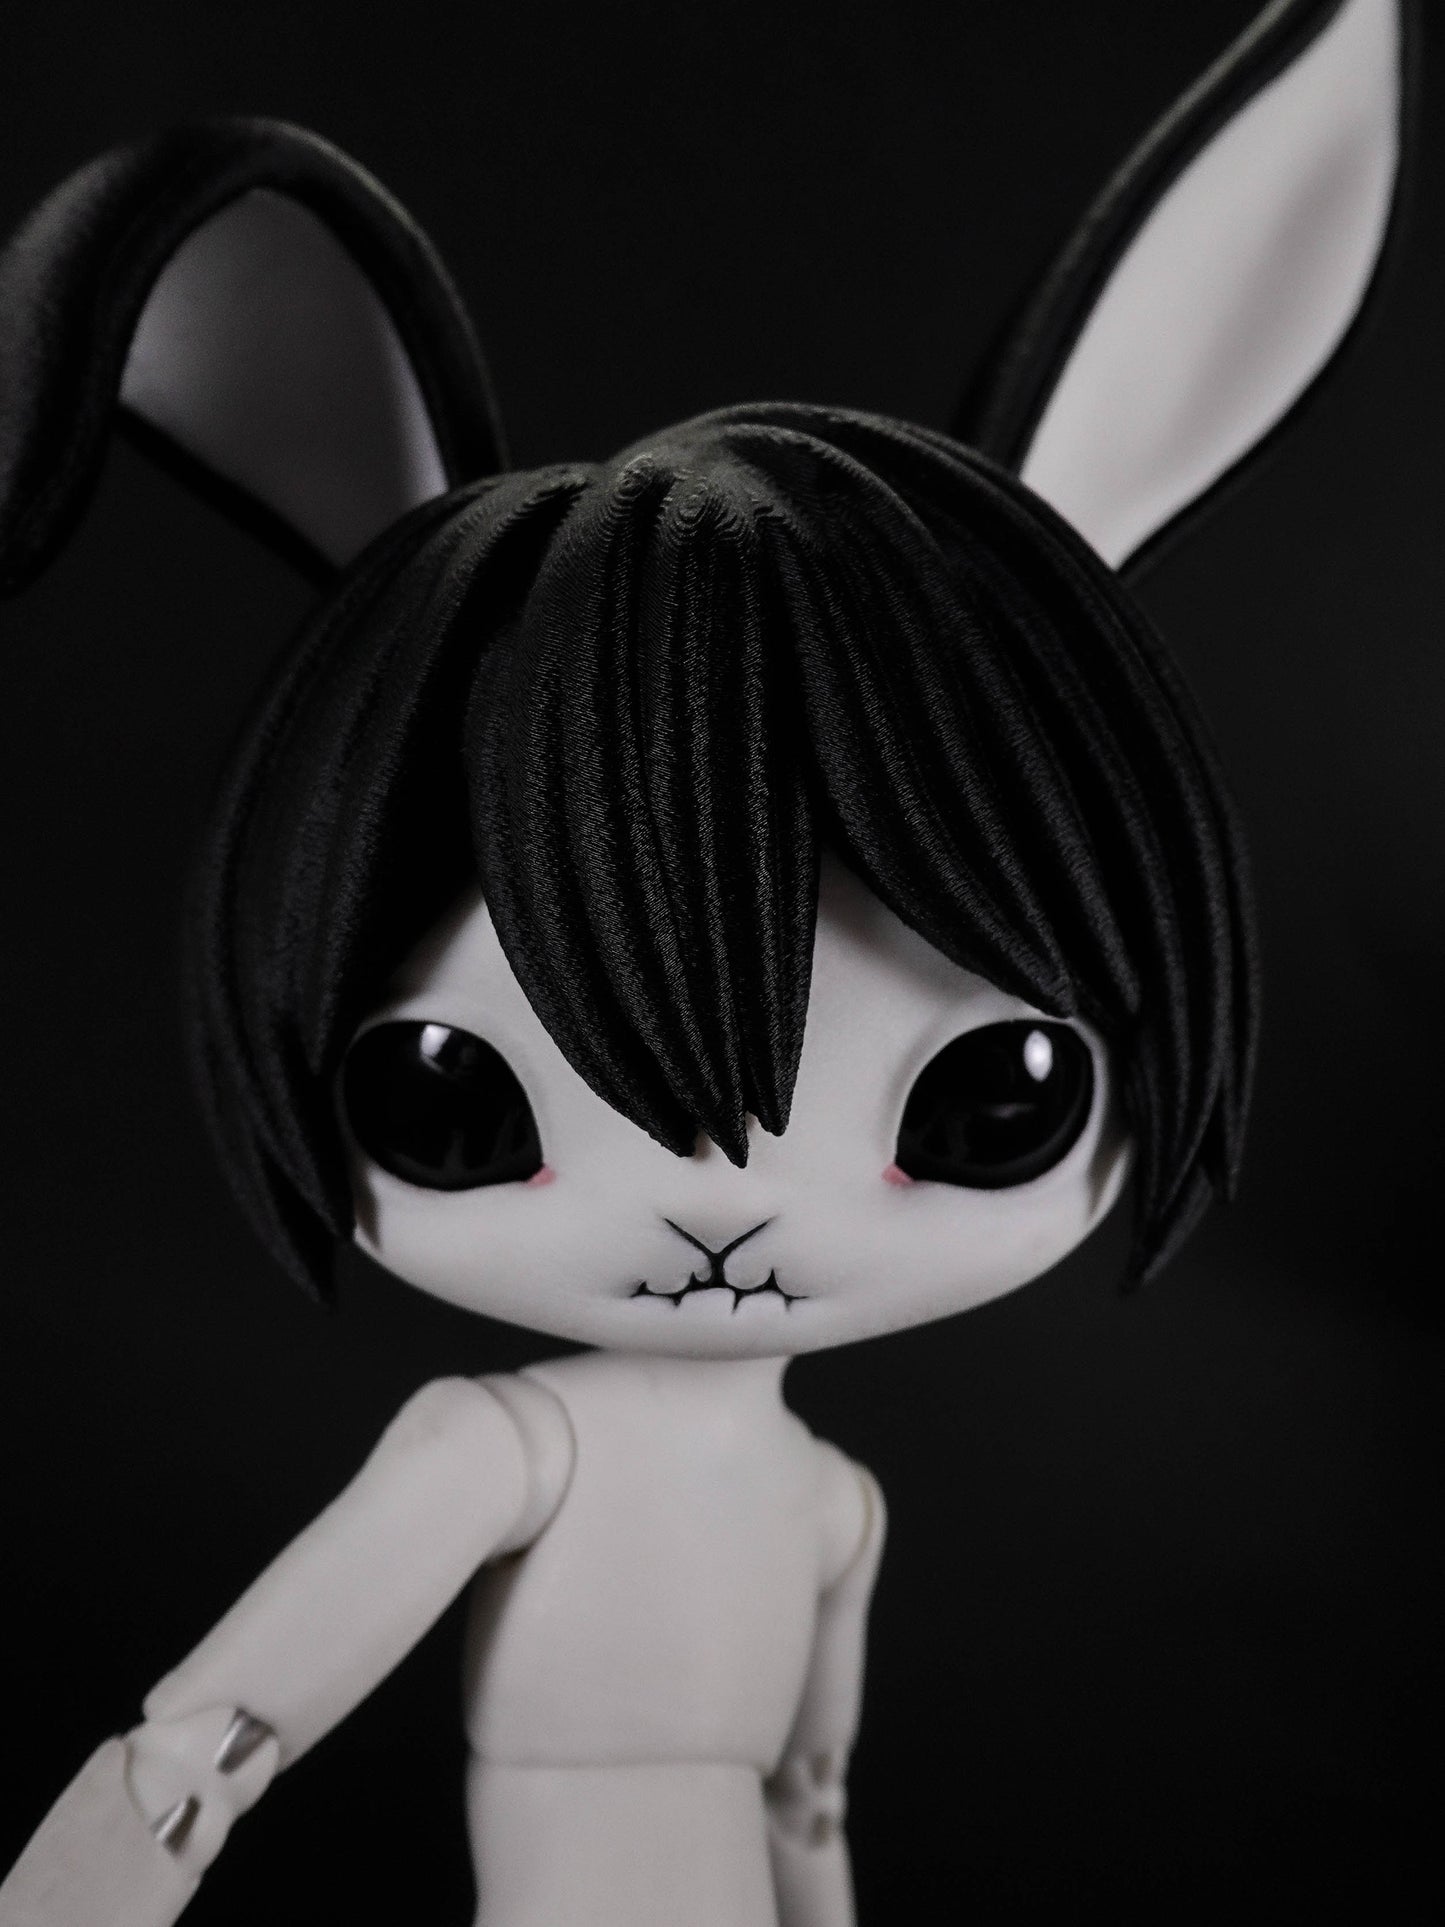
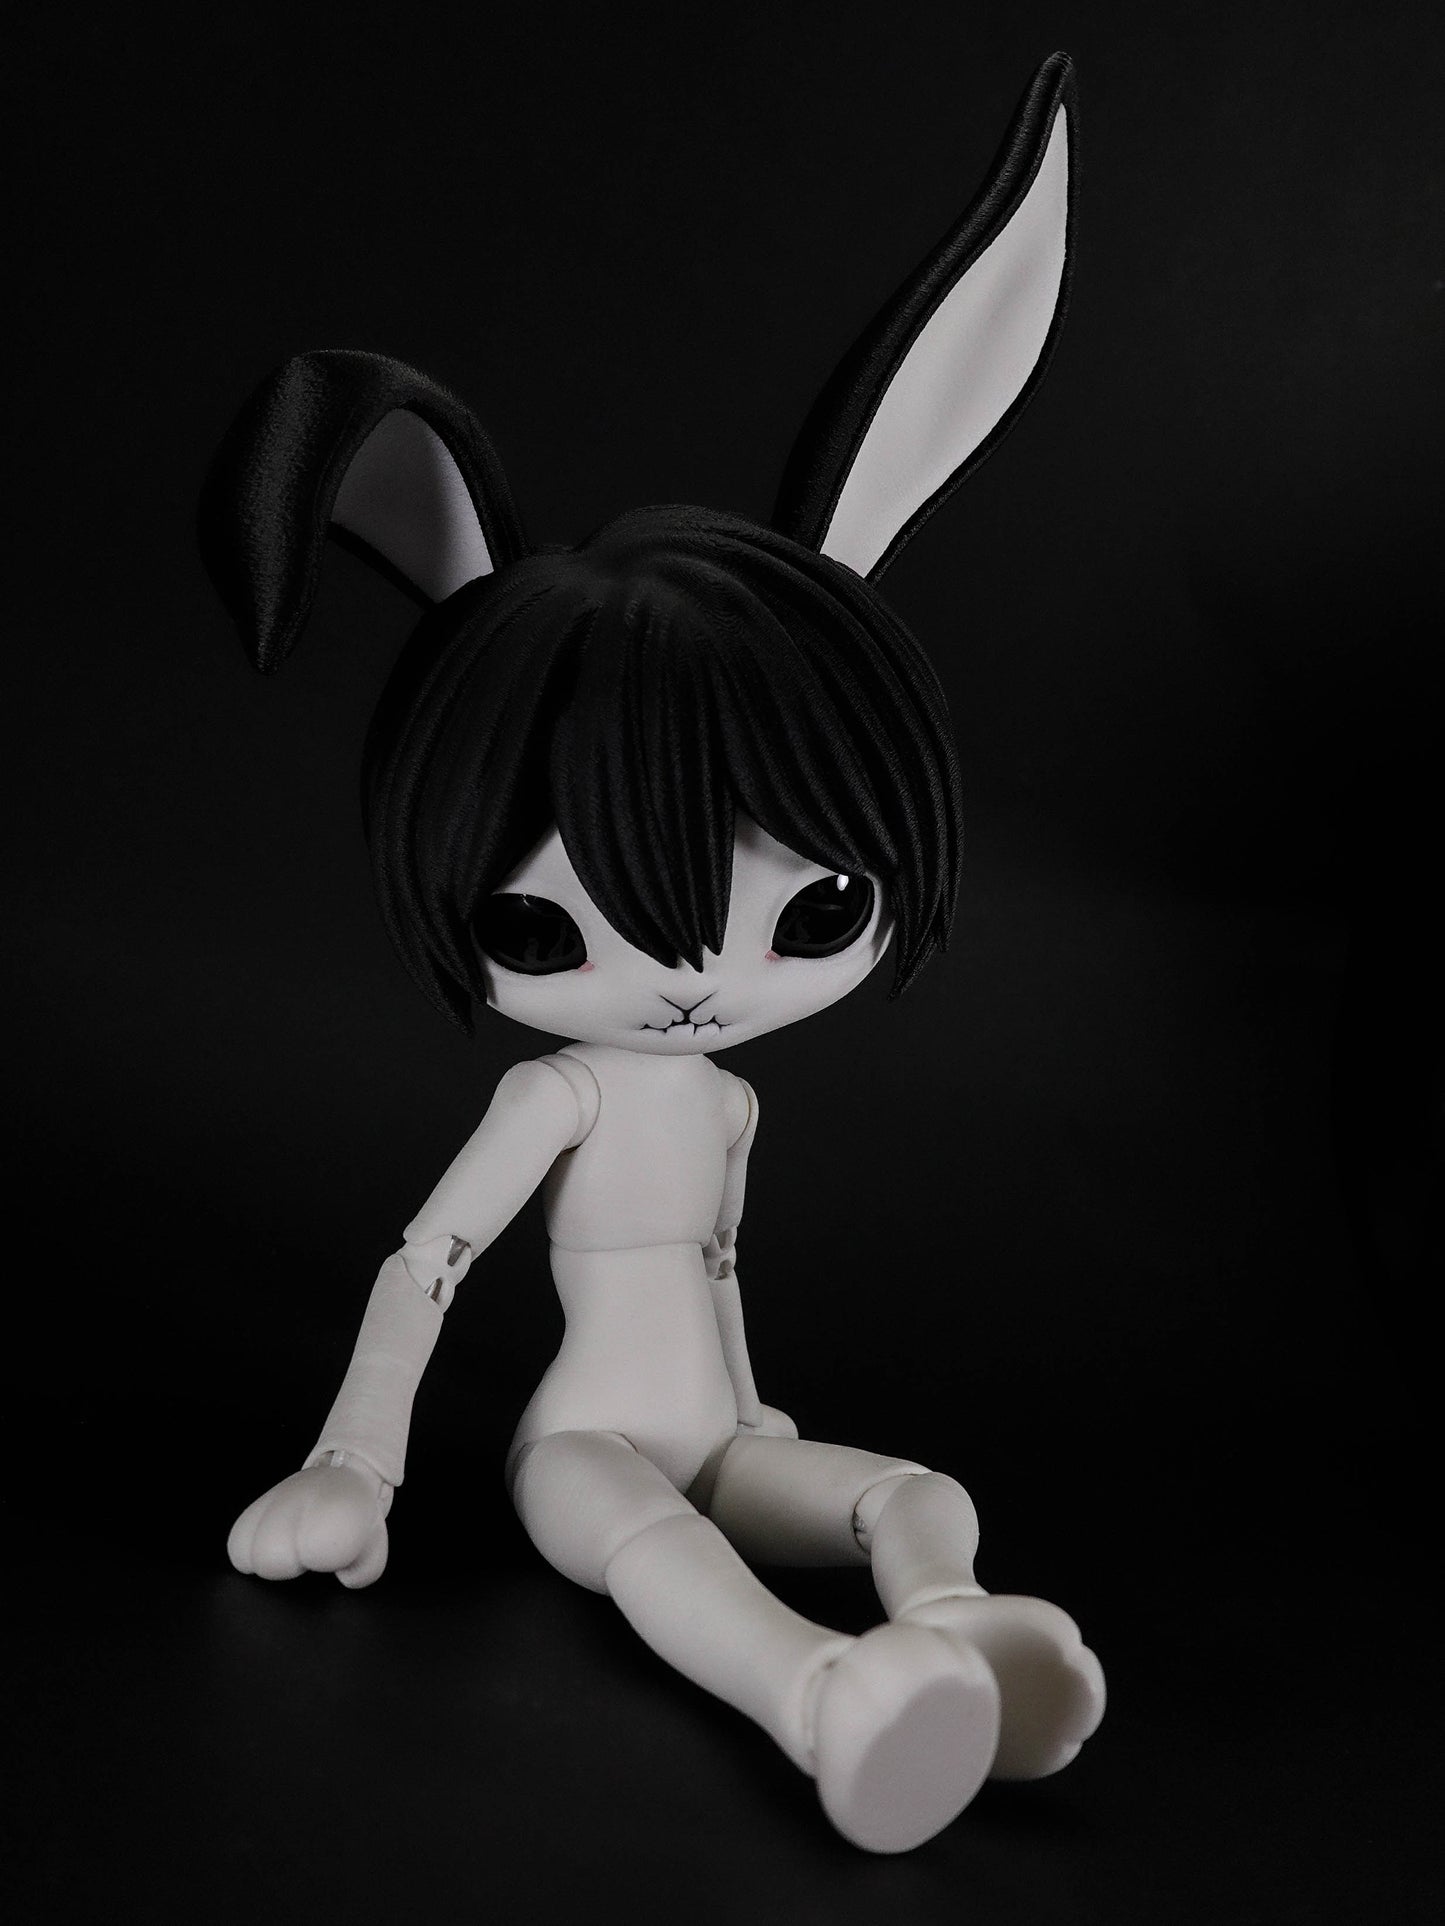
The lost soul that trembles on the edge of nightmare and salvation
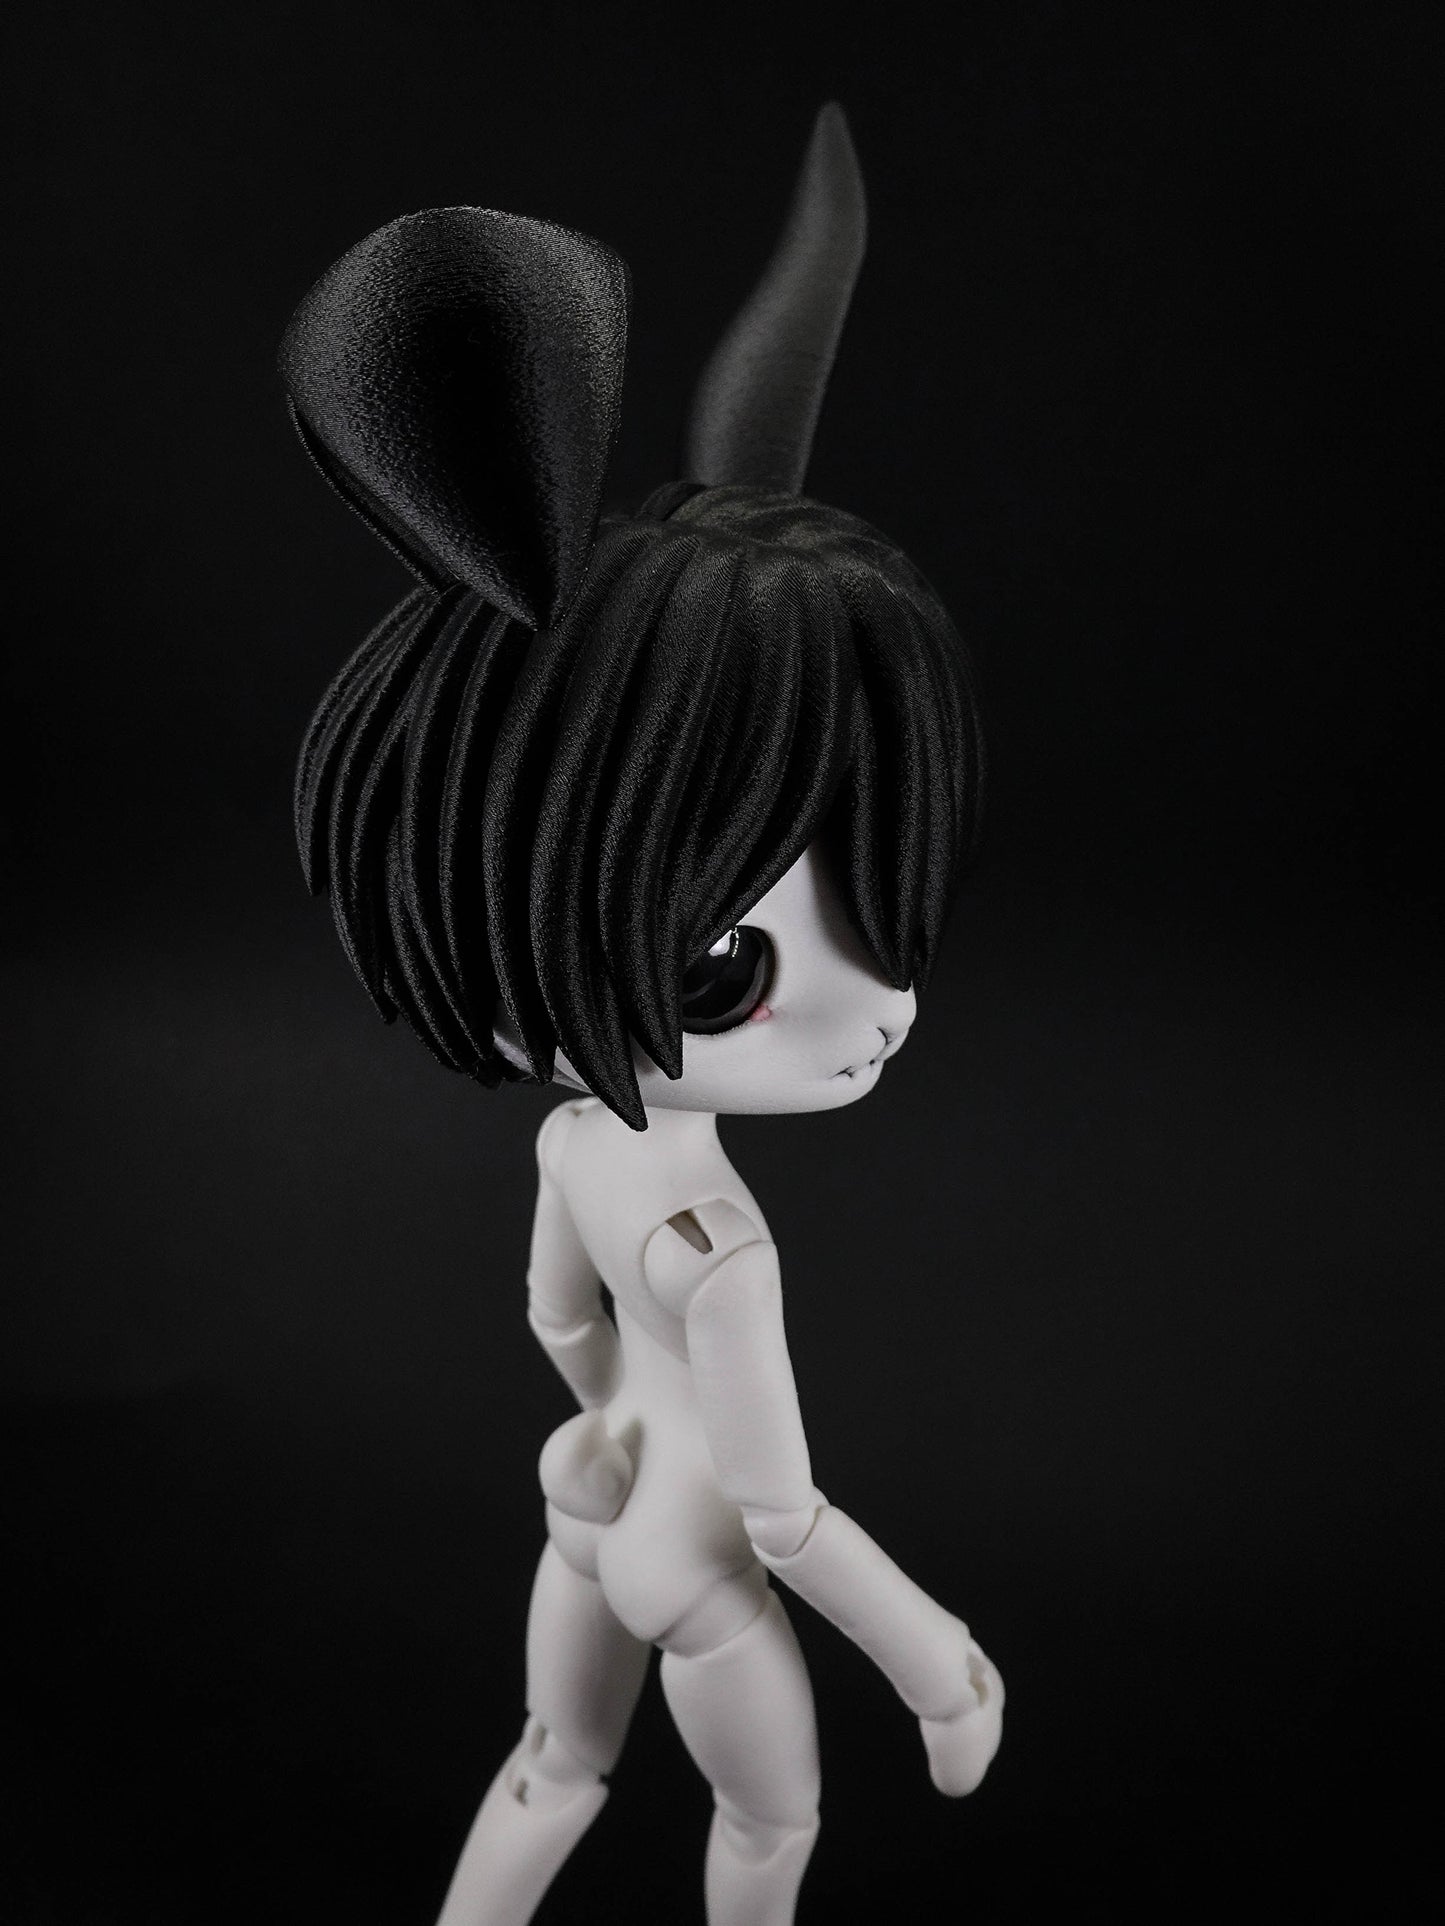
Meet Mori, a delicately morose ball-jointed doll inspired by my rather morbid intepretation of "Wonderland". With their porcelain-like joints, hauntingly expressive features, and customizable parts, Mori is ready to bring a touch of eerie elegance to your collection.
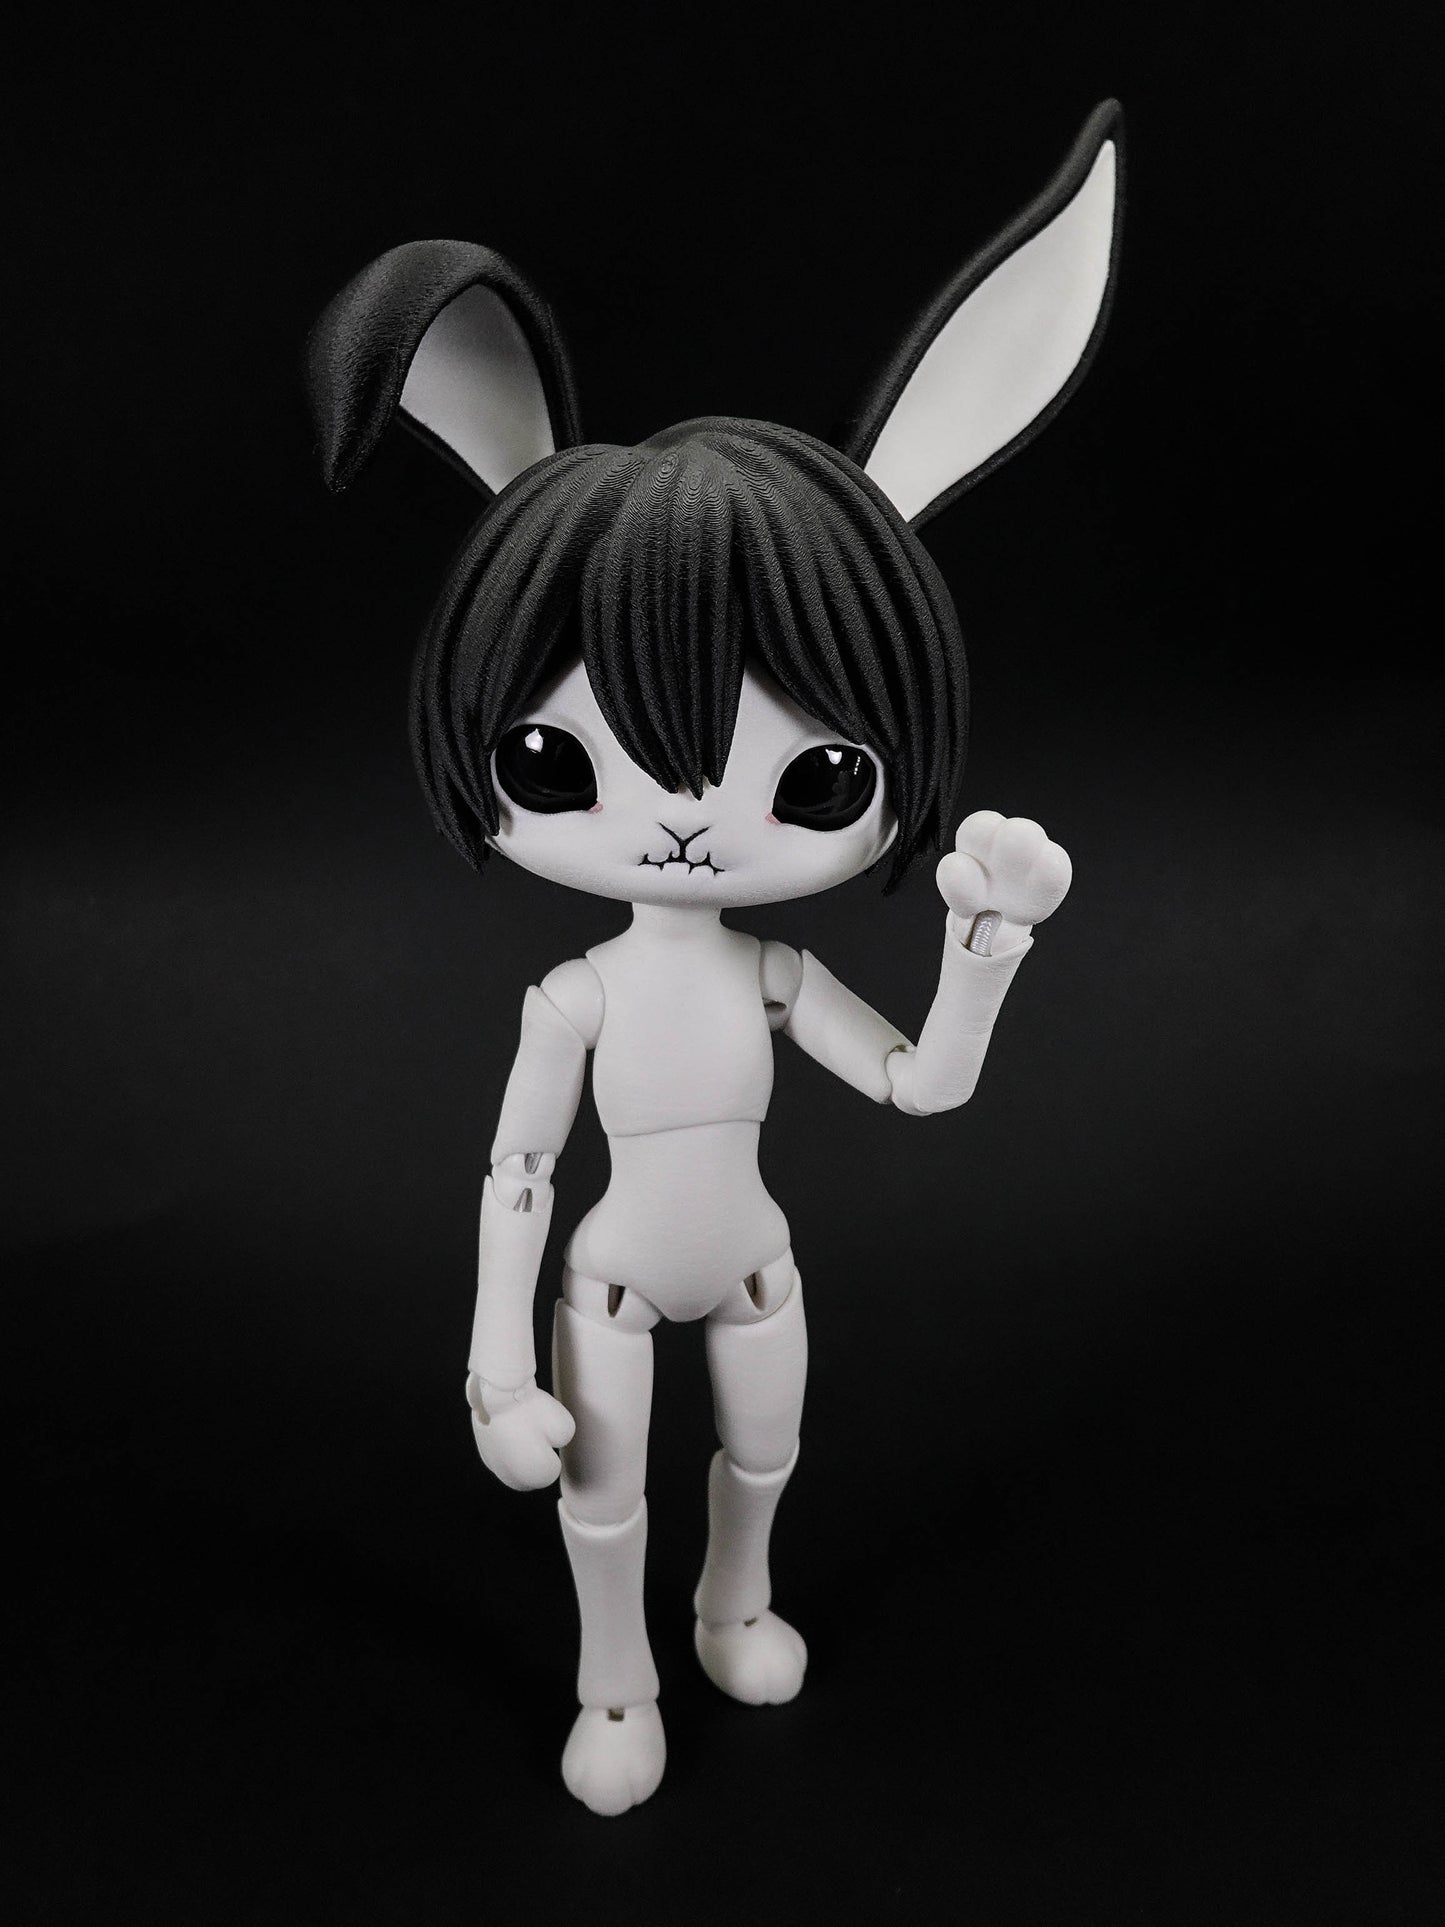
Unlike most other ball jointed dolls no s-hooks are required for assembly, all you need are some magnets and a little elastic! The Tokaberry stands at approximately 26cm tall!
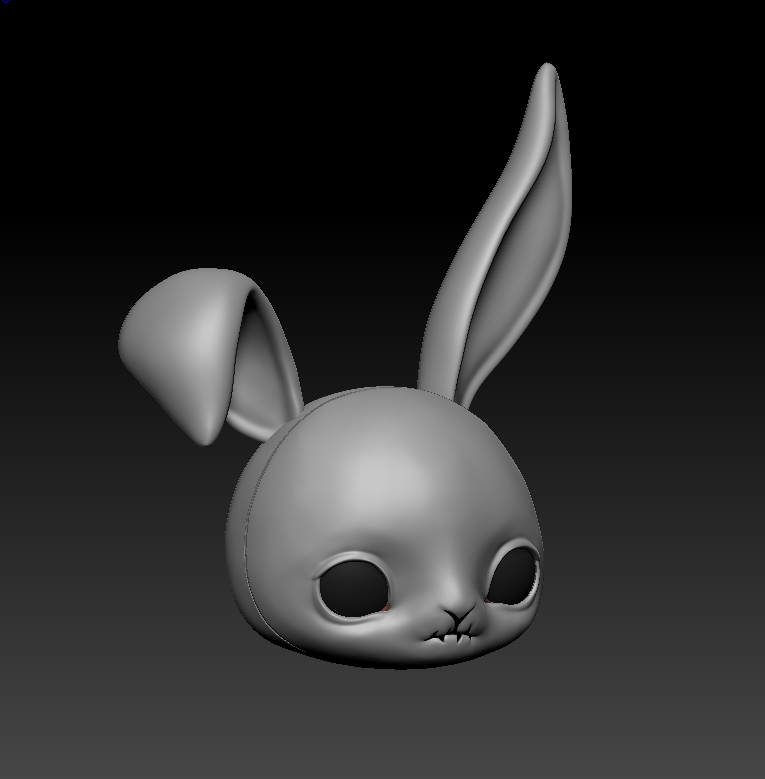
He's a very easy print whether you have a resin or an FDM 3D printer, and an even lighter breeze if you have a Bambu Labs 3D printer as I've included my Bambu Studio project file with all my settings as well as a full color version of the head for AMS systems. Also included is a blank version of the head for if you'd like to apply the hair yourself (or simply prefer him nice and bald).
His tail also attaches to the body via a magnet, this way you don't have to make any clothing modifications if you're thinking of giving him a little outfit. You can just suit him up and attach the tail over the clothes!
If using an FDM machine I personally recommend printing in matte filament as the glossier the filament the less friction the joints will have. You can still use glossy filament if you like but in that case you may have to hot glue suede the joints to keep the figure stable! I'd probably recommend hot glue sueding him regardless to help balance his top-heavy form and make posing easier, I also like to wire my dolls to help with this (full directions on this included in the assembly tutorial linked above).
RULES:
This STL is licensed for non-commercial use, this means you are allowed to make as many copies as you like/make modifications to the files but you cannot sell the files or any prints you produce using them.
However if you're interested in selling prints made using this file, if you head to my PATREON I have a Merchant tier that will allow for commercial sale of prints for as long as you remain subscribed.
I'D ABSOLUTELY LOVE TO SEE ANYTHING YOU MAKE WITH MY FILES SO PLEASE TAG ME WHEREVER YOU POST! I'm @Thanatoys on most platforms!
3D printing settings
PARTS REQUIRED:
To assemble him all you need is:
3mm elastic cord to string his body
Ten 6x3mm magnets for the head, eyes and tail
(OPTIONAL) UV Nail gel and UV torch to gloss up the eyes
(FOR RESIN ONLY) If you're printing in resin and don't have any 1.75mm filament to pin the hands and feet you can use 1.6mm craft wire
(Optional) Craft Wire for wiring the arms & legs -
2mm 6 Gauge Aluminium wire
(Optional) Hot glue gun for sueding the joints
FDM PRINT SETTINGS (premade settings I use are included in my Bambu Studio Project):
Tested and prints nicely with both a .2 and a .4 nozzle.
Layer height - .12 if using a 0.4 nozzle
Infill - 15% Gyroid
Fuzzy Skin (To mask layer lines effectively in combination with the surface texture) - .11 Point Distance .11 Thickness
Supports - I always use manual as most parts are made to be printed on top of supports rather than on the build platform. All my custom support application is included in the Bambu Studio project.
Color - All of the parts are pre-painted with Bambu Studio's in-software tools/custom modifiers so if you have a Bambu Labs printer and a AMS system you'll be able to print the parts in full color. This particular file should be usable in Slicers for alternative printers that utilise a similar multi-material system.